
Configuring Smarter Visitor Registration
The settings in detail: locations and access rights, check-in behavior, emails, behavior guidelines, branding and privacy.
Where to find the settings
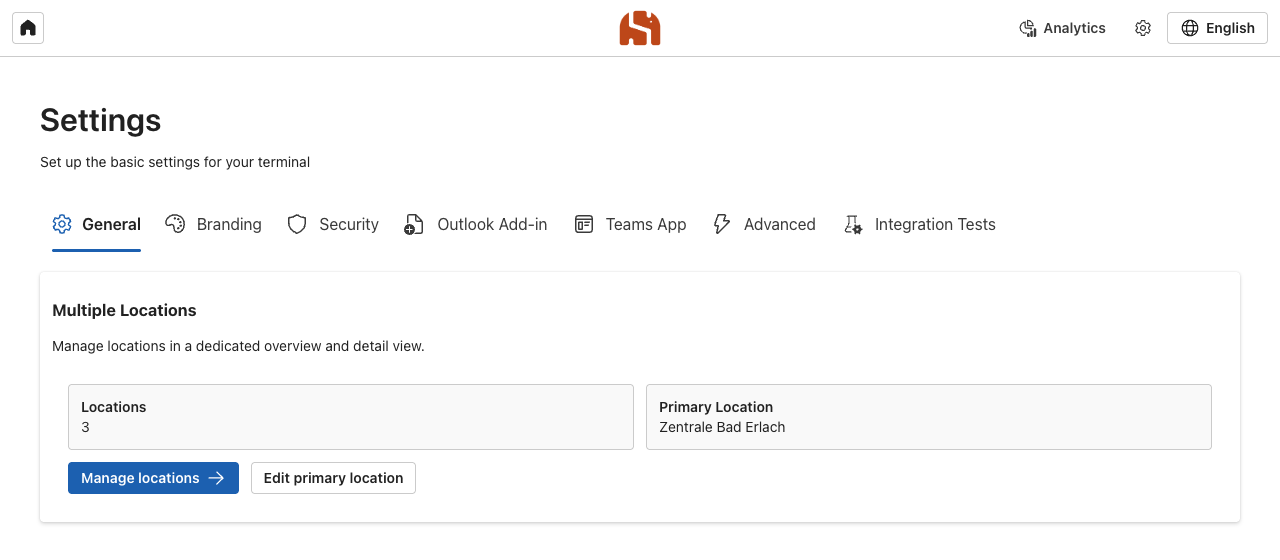
Administrators open the settings with the gear icon at the top right or directly at /admin. The global settings are organised in tabs; everything that concerns a location is on the detail page of that location.
Changes only take effect with Save Settings. Every save is logged with user and time. Terminals apply new settings within a few minutes.
Structure of the settings
| Tab | Content |
|---|---|
| General | Number of locations, primary location and the entry point to location management |
| Branding | Company name, logo and colours of the terminal |
| Security | Admin group |
| Outlook Add-in | Generate and publish the manifest for the Outlook add-in |
| Teams App | Generate the app package for Microsoft Teams |
| Advanced | Terminal timeouts, automatic check-out |
| Integration Tests | Diagnostic tool for support |
Managing locations
A location is a reception with its own terminal, its own permissions and its own analytics. Manage locations opens the list.
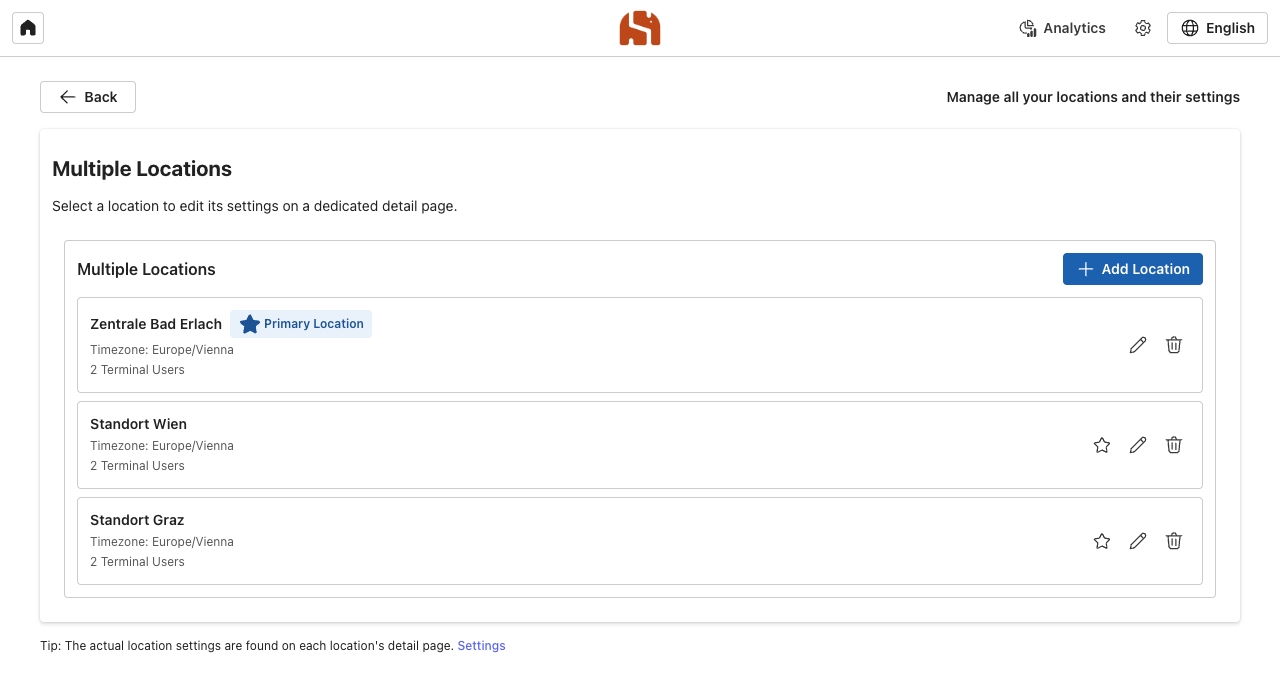
- Add Location immediately creates a location named “New location” and opens its detail page.
- Exactly one location is the Primary Location. It applies when an Outlook appointment cannot be assigned to any other location.
- The last remaining location cannot be deleted.
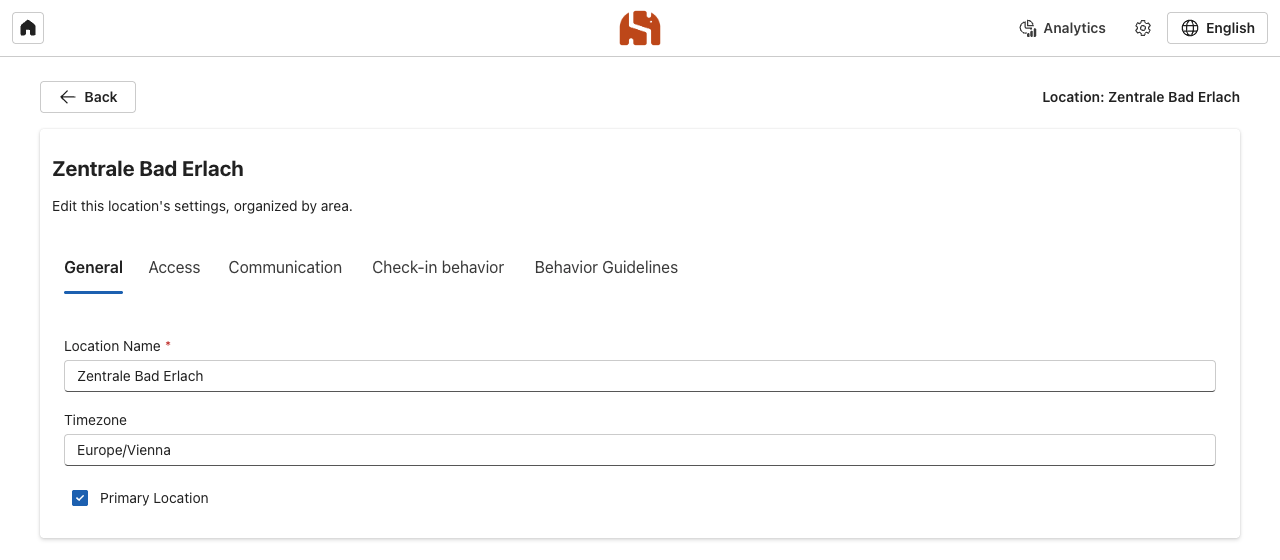
General
| Field | Meaning |
|---|---|
| Location Name | Required. Appears in analytics, emails and as the placeholder {{locationName}}. If the same name is in the “Location” field of an Outlook appointment, the appointment is assigned to this location. |
| Timezone | IANA name of the time zone, for example Europe/Vienna. |
| Primary Location | Makes this location the primary location. |
Access per location
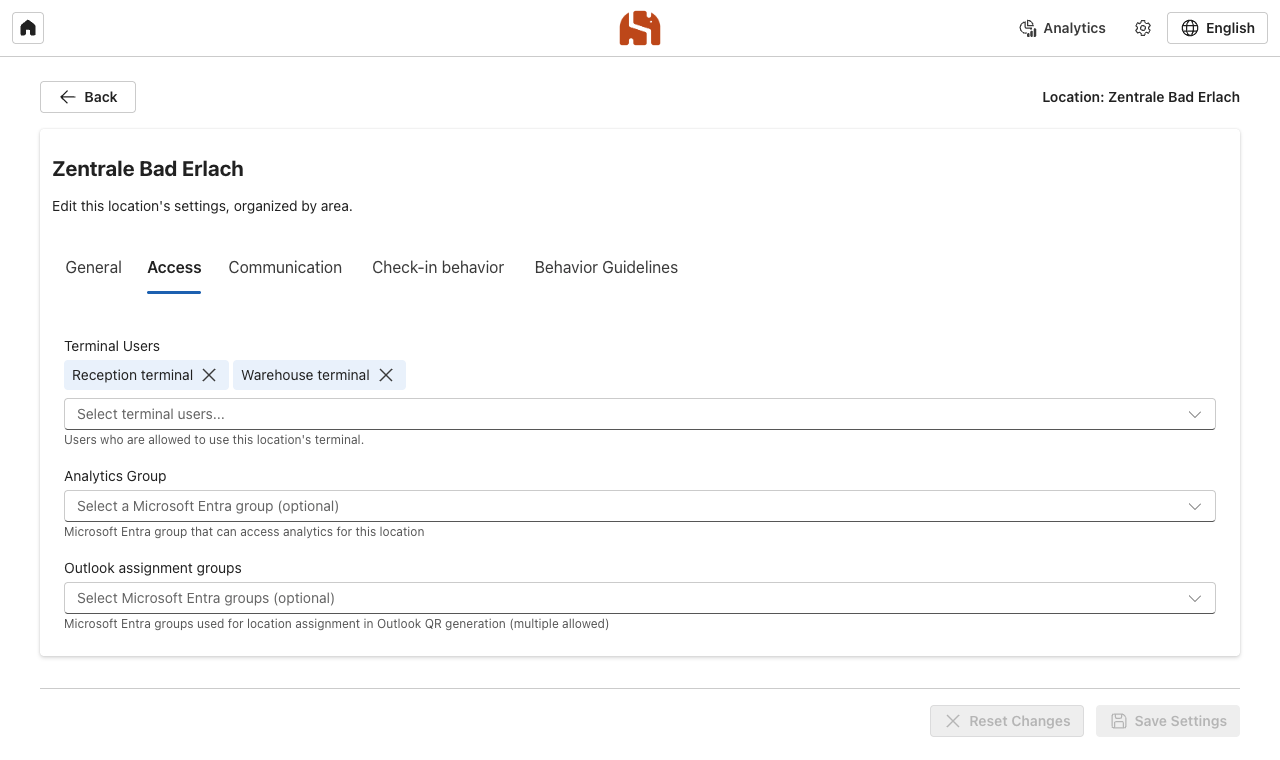
| Field | Effect |
|---|---|
| Terminal Users | Accounts that may use the terminal of this location. Enter the account with which the device at reception is signed in. A terminal user sees only their own location. |
| Analytics Group | Members of this Entra group see the analytics, TV display and CSV export of the location and may use its terminal. |
| Outlook assignment groups | Appointments created by members of these groups are assigned to this location if the appointment has no location name in its location field. Several groups are possible. |
One account, one location
Enter a terminal account at one location only. If it is entered at several, the first match in the location list applies.
Communication: site plan and signature
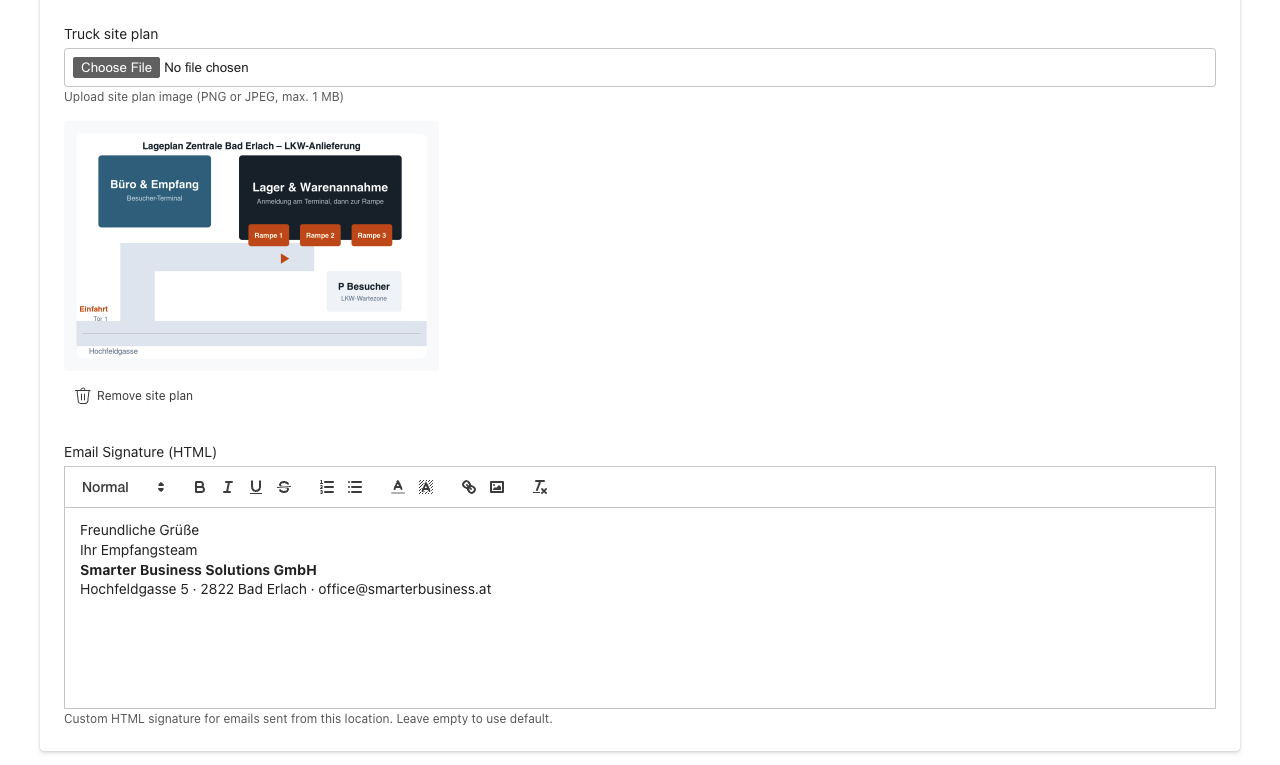
- Truck site plan: An image (PNG or JPEG, 1 MB at most) showing the access road, ramps and parking spaces. As soon as a plan is uploaded, a truck button appears on the home screen of the terminal and shows the plan in full screen.
- Email Signature: Appended to all emails of this location. Formatting, links and images are possible. Without a custom signature, the email ends with the company name from the branding.
Publicly accessible files
The logo, the site plan and the files and images of the behavior guidelines can be retrieved without sign-in so that emails and terminals can load them. Do not use confidential content there.
Check-in behavior
The Check-in behavior tab controls what happens at the terminal and around the check-in. It consists of five areas.
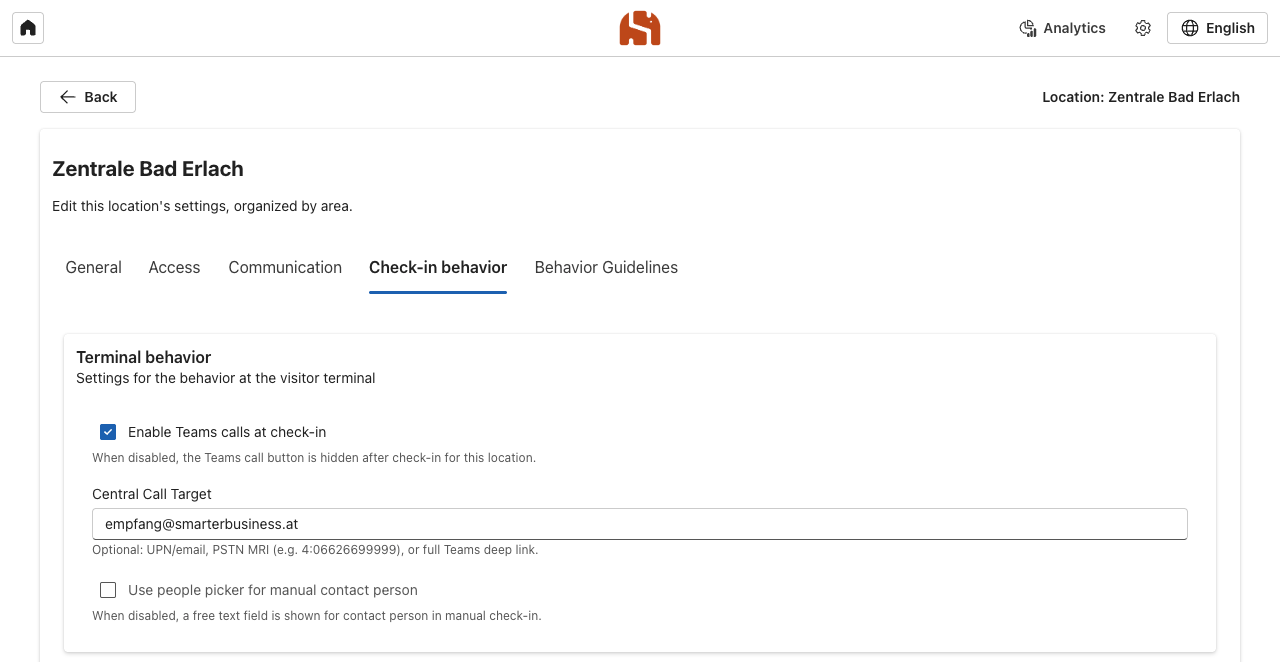
Terminal behavior
| Setting | Effect |
|---|---|
| Enable Teams calls at check-in | Shows a button after check-in with which visitors call their contact person through Microsoft Teams. Only visible when the terminal runs in Teams. |
| Central Call Target | Who is called when no contact person is known or nobody answers. Possible values are an email address or UPN, a phone number (dialled as 4:<number>) or a full Teams link. |
| Use people picker for manual contact person | In the manual check-in, visitors select the contact person from the directory. If the option is off, they type the name as free text, and a direct call to the person is then not possible. |
Outlook QR code
The template determines what the Outlook add-in writes into the appointment. It must contain the placeholder {{qrCode}}; {{locationName}} inserts the location name. Without a custom template, a short default text with the QR code is used. For more information, see Outlook add-in › QR template.
Emails to visitors
| Trigger | Default | Placeholders | |
|---|---|---|---|
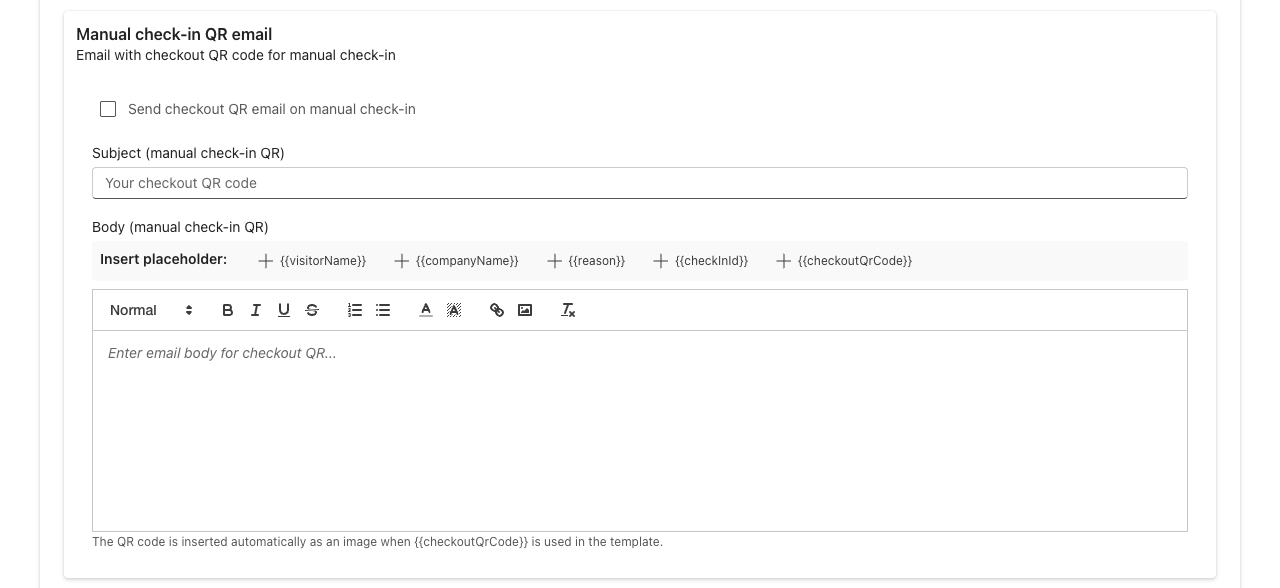
| Manual check-in QR email | Manual check-in. Contains the QR code for check-out. | on | {{visitorName}}, {{companyName}}, {{reason}}, {{checkInId}}, {{checkoutQrCode}} |
| Check-in confirmation | Every check-in, by QR code or manually | off | {{visitorName}}, {{companyName}}, {{reason}} |
| Check-out confirmation | Check-out at the terminal | off | {{visitorName}}, {{companyName}}, {{reason}} |
{{visitorName}}is the name of the visitor,{{reason}}the subject of the appointment or the reason for the visit.{{companyName}}is the company that the visitor entered, not your own company. Write your company name directly into the text.- Placeholders must be written exactly and without spaces. The easiest way is to insert them with the buttons above the editor.
- If subject and body are left empty, the system uses bilingual default texts.
- With Include behavior guidelines in check-in email, the confirmation attaches the guidelines files of the location.
The sender is the terminal account
The emails are sent from the mailbox of the account with which the terminal is signed in. They are stored there under “Sent Items”, and replies arrive in this mailbox. The account therefore needs an Exchange Online mailbox.
Behavior guidelines
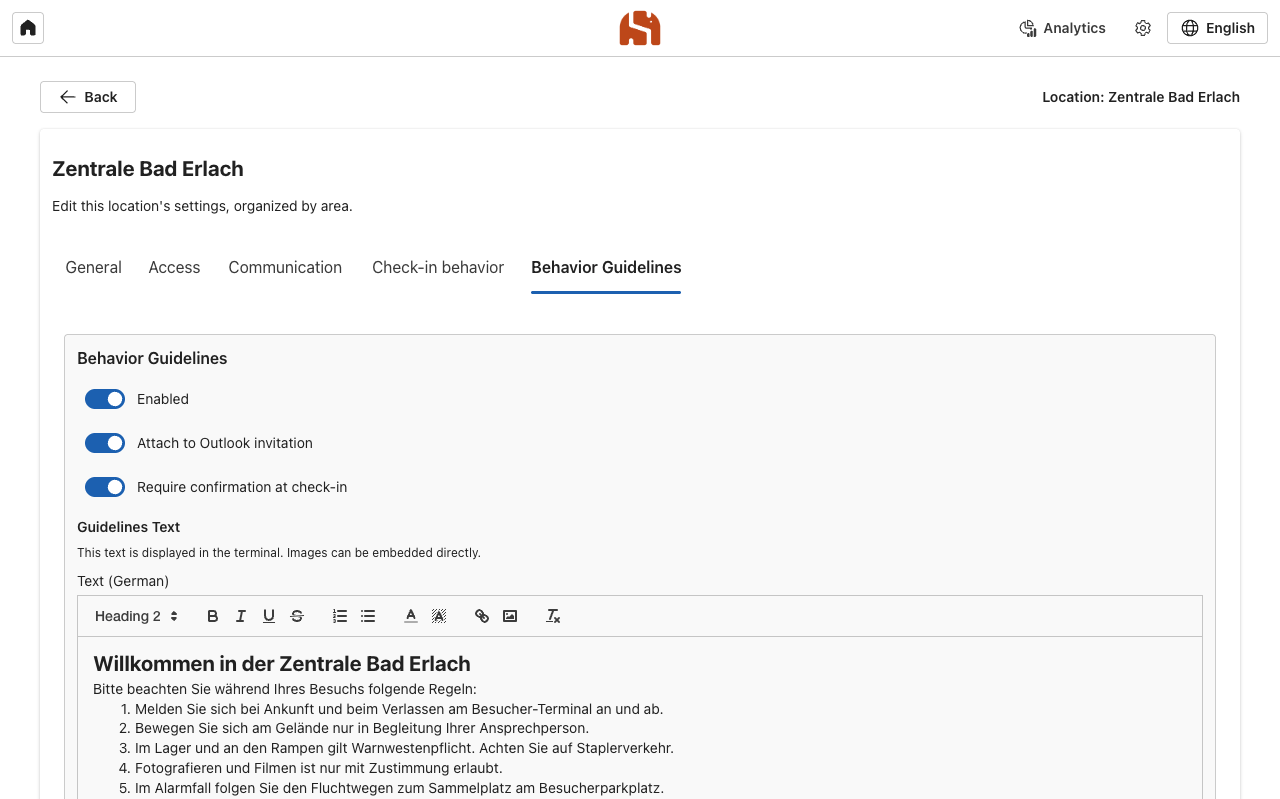
Behavior guidelines are safety rules or house rules that visitors read and confirm at check-in. You set them up for each location.
| Setting | Effect |
|---|---|
| Enabled | Switches the guidelines on for the location. |
| Attach to Outlook invitation | The Outlook add-in attaches the guidelines files to the appointment when the QR code is created. |
| Require confirmation at check-in | Visitors must tick a checkbox at the terminal before they can check in. Requires at least one text or one file. |
| Guidelines Text | The text that the terminal displays, once in German and once in English. Headings, lists and embedded images are possible. If one language is missing, the terminal shows the other. |
| Guidelines files for emails | One file each in German and English (PDF, PNG, JPG or WebP, 1.35 MB at most) as an attachment for the Outlook invitation and the check-in confirmation. The upload is saved immediately. |

Branding
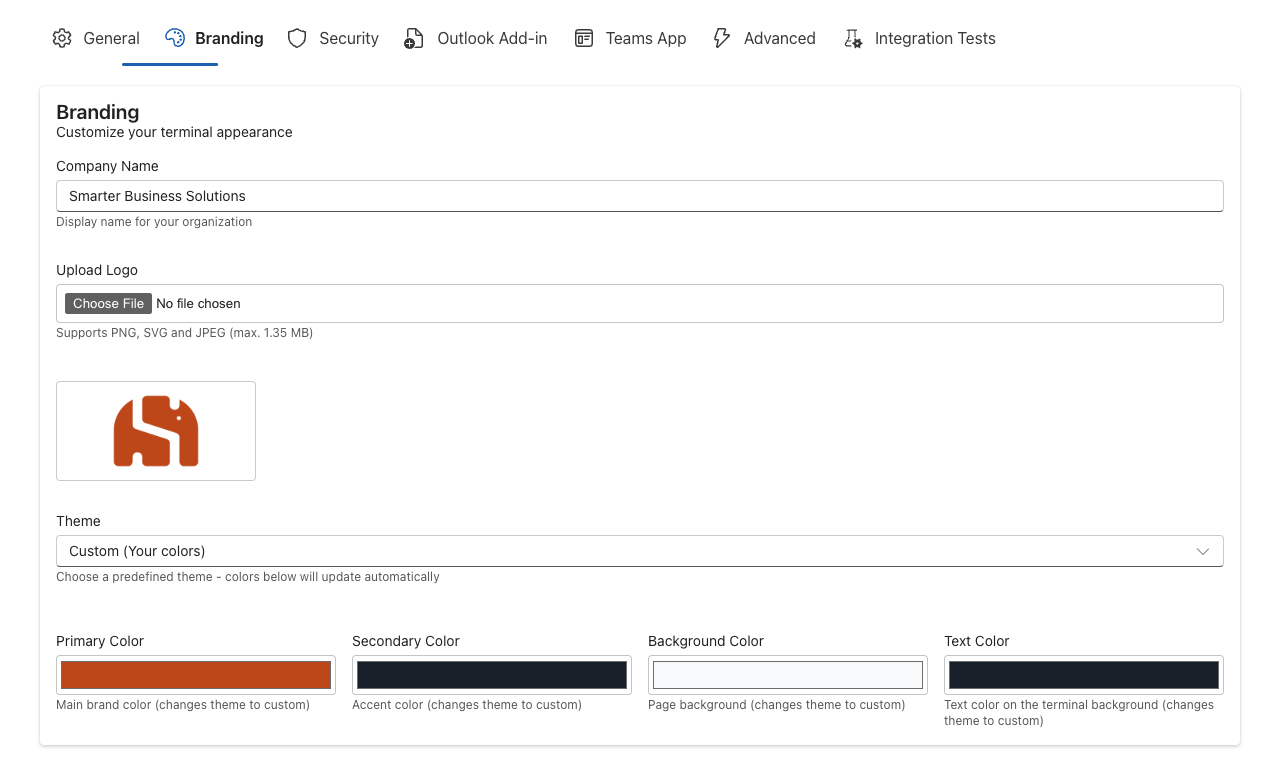
| Field | Effect |
|---|---|
| Company Name | Appears in the header of the terminal if no logo is uploaded, and in the default signature. |
| Upload Logo | PNG, SVG or JPEG up to 1.35 MB. Preferably with a transparent background. |
| Theme | Predefined colour schemes: Default, Dark, Light, High Contrast and Corporate. As soon as you change a colour, the theme switches to “Custom”. |
| Primary Color | The large “Check in” button and all primary buttons. |
| Secondary Color | The “Check out” button. |
| Background Color | The page background of the terminal. |
| Text Color | Text on the background of the terminal. |
Readability is checked automatically
The terminal itself chooses white or black for the text on the large buttons, depending on which is easier to read on your colour.
Security
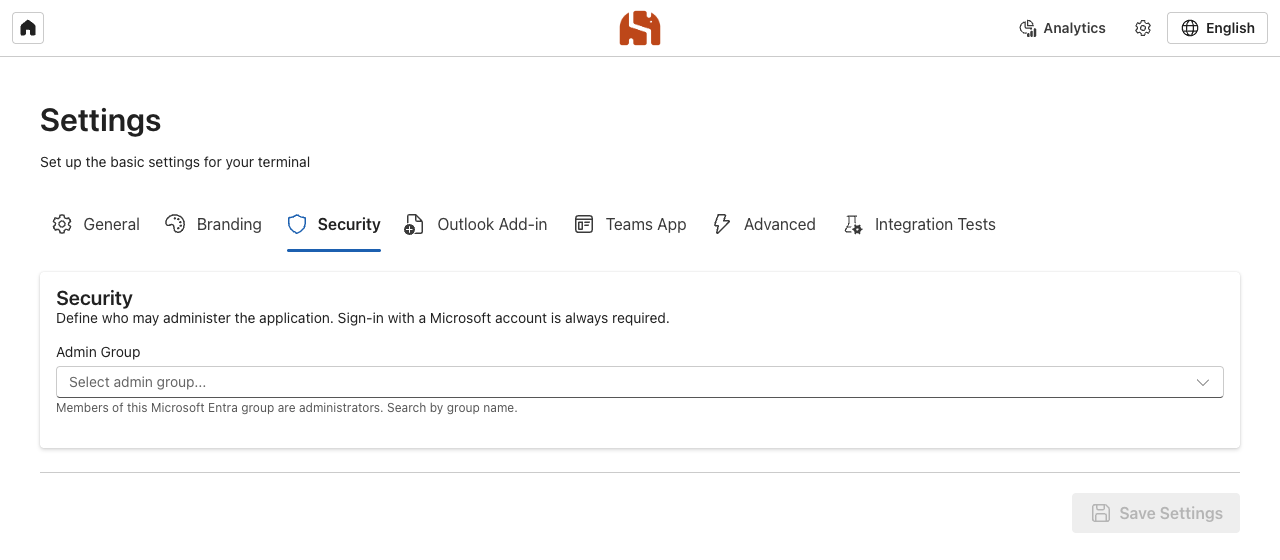
Under Admin group, search for a group from Microsoft Entra ID. All members, including those in nested groups, are administrators: they change settings, see the analytics of all locations and can open every terminal.
Check before saving
As soon as an admin group is saved, only group membership counts. Make sure that you are a member yourself, otherwise you lock yourself out of the settings.
Advanced: timeouts and automatic check-out
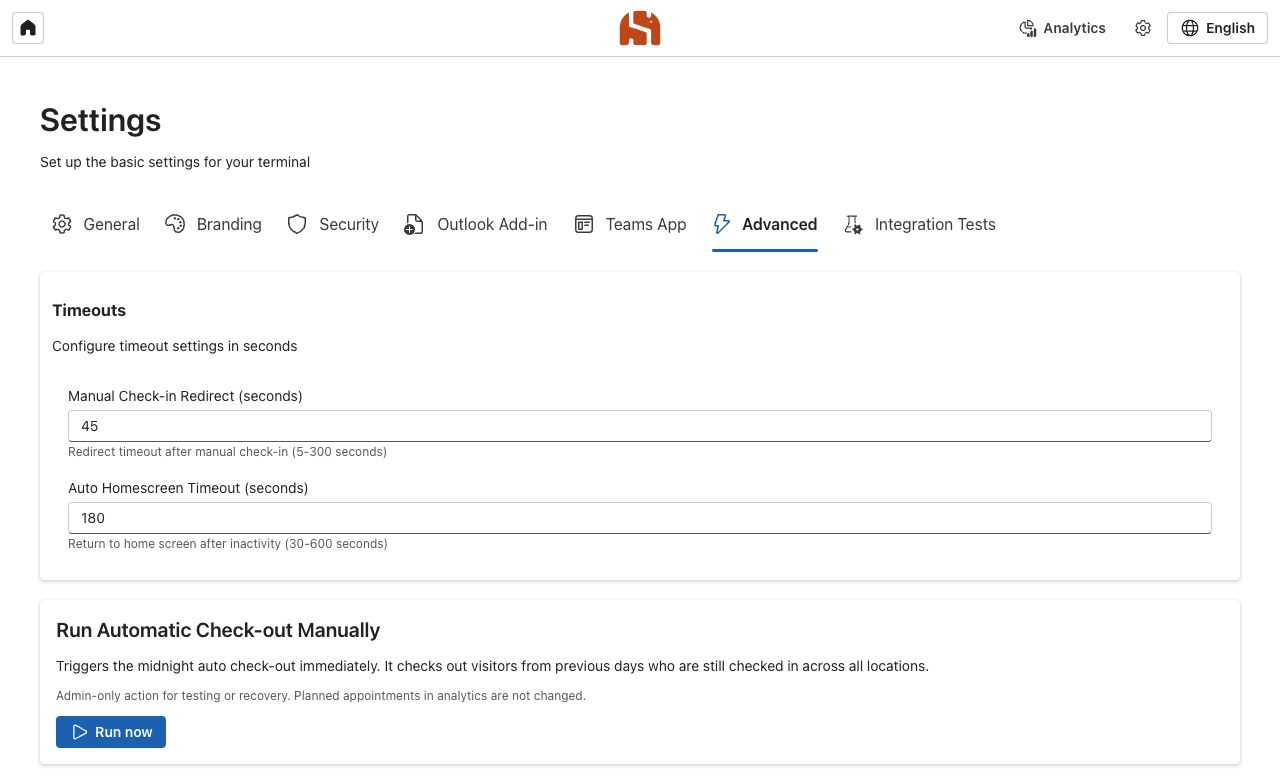
| Setting | Effect | Default | Range |
|---|---|---|---|
| Manual Check-In Redirect | How long the success message stays on screen after check-in and check-out before the terminal switches to the home screen. | 45 seconds | 5–300 |
| Auto Homescreen Timeout | After this time, every other page of the terminal returns to the home screen, for example when a visitor walks away in the middle of the process. | 180 seconds | 30–600 |
Automatic check-out: Every night at midnight, the system checks out all visitors who checked in on the previous day or earlier and are still open. The end of the previous day is used as the check-out time; no email is sent. With Run now, administrators start this run immediately, for example after a test.
Privacy and retention
- Storage location: All data is stored in the Cosmos DB database in your Azure subscription.
- Consent at the terminal: With the checkbox “I agree that my data may be used for repeated registration”, visitors decide whether their contact data remains stored for the next visit.
- Anonymisation: Without this consent, the check-in is anonymised at check-out, including the automatic check-out. Name, email address, company and phone number are replaced; the statistics are retained.
- Retention periods: For visitor contacts and the audit log, you can define an automatic retention period in days during deployment (parameters
visitorsRetentionDaysandsettingsAuditRetentionDays). - Access and erasure: For requests from data subjects, there is an interface for export and deletion by email address. We support you if required.
- TV display: It shows the names of visitors. Position the screen in a way that fits your data protection concept.
Visitors registered in advance
When a QR code is created in Outlook, the system creates a contact with name and email address for the invited people so that the check-in at the terminal is pre-filled.
Integration Tests
The Integration Tests tab is a diagnostic tool. The tests write to the real database and create test entries. Use it only after consulting support and not during live operation.
Questions about this product?
Our support team is happy to help with any questions about Smarter Visitor Registration.