
Version 1.4 of Smarter Engagement Calendar is currently being validated by Microsoft and will be available in the Microsoft Marketplace shortly. Until then the Marketplace installs the previous version; the update follows through the app catalog.
Getting started with Smarter Engagement Calendar
From installation to your next campaign: how to set up a calendar with the wizard, design the doors, draw winners and report on participation.
Table of contents
Overview
Smarter Engagement Calendar – called Smarter Advent Calendar up to version 1.3 – opens one door a day on a SharePoint page or in a Teams channel. In December it is your advent calendar; during the year it supports software launches, onboarding, a security month, a company anniversary or a health week. This guide describes version 1.4.
Installation
Installation takes two steps: first in the tenant app catalog, then on the site where the calendar should run.
- Get the app from Microsoft AppSourceand deploy it to your tenant app catalog. This requires tenant administrator rights.
- Add the app to the site you want via “Add an app”.
- Edit a SharePoint page and add the Smarter Engagement Calendar web part.
Helpful guide
Setup needs permissions
The wizard creates lists and sets permissions. The person running it needs full control of the site – usually a site owner.
The setup wizard
When you open the web part for the first time, the “Set up calendar” wizard starts. It takes you to a ready calendar in five steps. Nothing on the site changes until you click “Set up calendar” at the end, so you can try things out safely. The page does not need to be published for this; employees only see the calendar once the page is published.
1. Occasion & schedule
Pick the occasion, the calendar name, the first door, the number of doors (3 to 31) and the rhythm: daily, working days or weekly. The date preview lists every door with its date.
2. Template
The content pack for the doors and the language of the content. The preview shows what the calendar will look like.
3. Participants
Who takes part and who manages. SharePoint or security groups work best, rather than individual people.
4. Look & prize draw
The design, optionally your own background image, and the rules for the prize draw – or no prize draw at all.
5. Review & start
A summary of everything. Only “Set up calendar” creates the lists, fills the doors and sets the permissions.
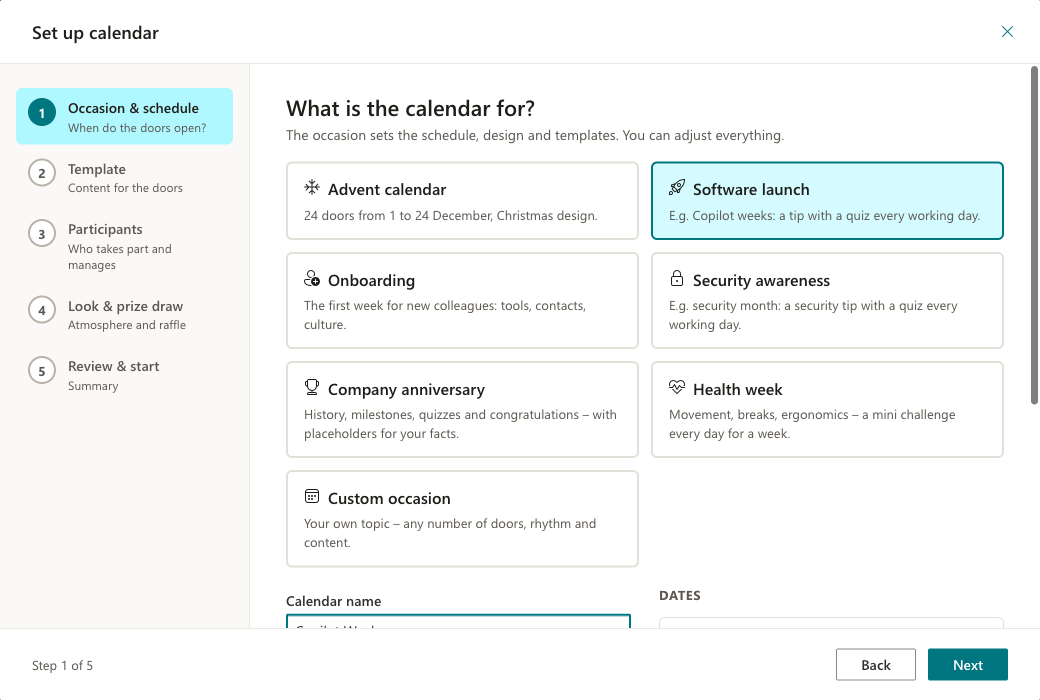
Step 1: Occasion and schedule
The occasion suggests schedule, design and content; you can adjust everything. The date preview shows which door opens on which day. For the advent calendar the doors can be scattered as usual.
Advent calendar
24 doors from 1 to 24 December in the Christmas design. Packs: “Colourful mix”, “Digital Workplace”, “Culture & togetherness”.
Software launch
For example Copilot weeks on working days. Packs: “Getting to know Copilot” and “Teams pro”.
Onboarding
“Your first week” for new colleagues: tools, contacts, culture.
Security awareness
“Security month” with 20 tips on 20 working days – phishing, MFA fatigue, passkeys, QR code phishing, CEO fraud and more.
Company anniversary and health week
The “Anniversary” and “Health week” packs. The anniversary pack contains placeholders for your company details.
Custom occasion
Your own schedule and your own content – for everything that fits no other box.
Step 2: Template
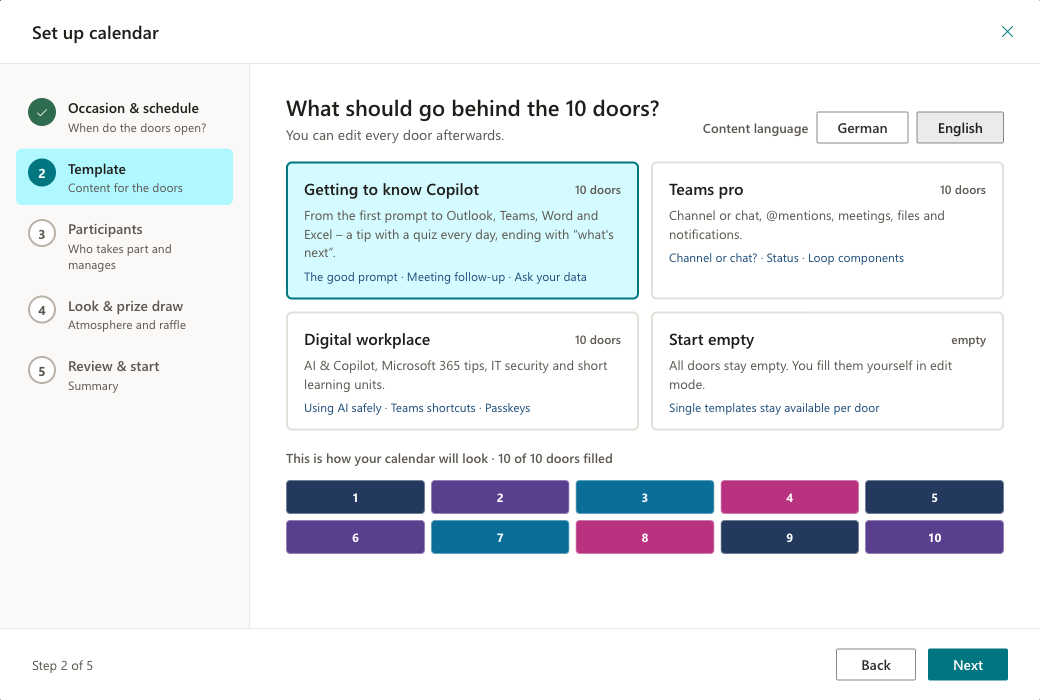
Choose the content pack and the language of the content (English or German). The preview shows how many doors the pack fills.
Steps 3 and 4: Participants, look and prize draw
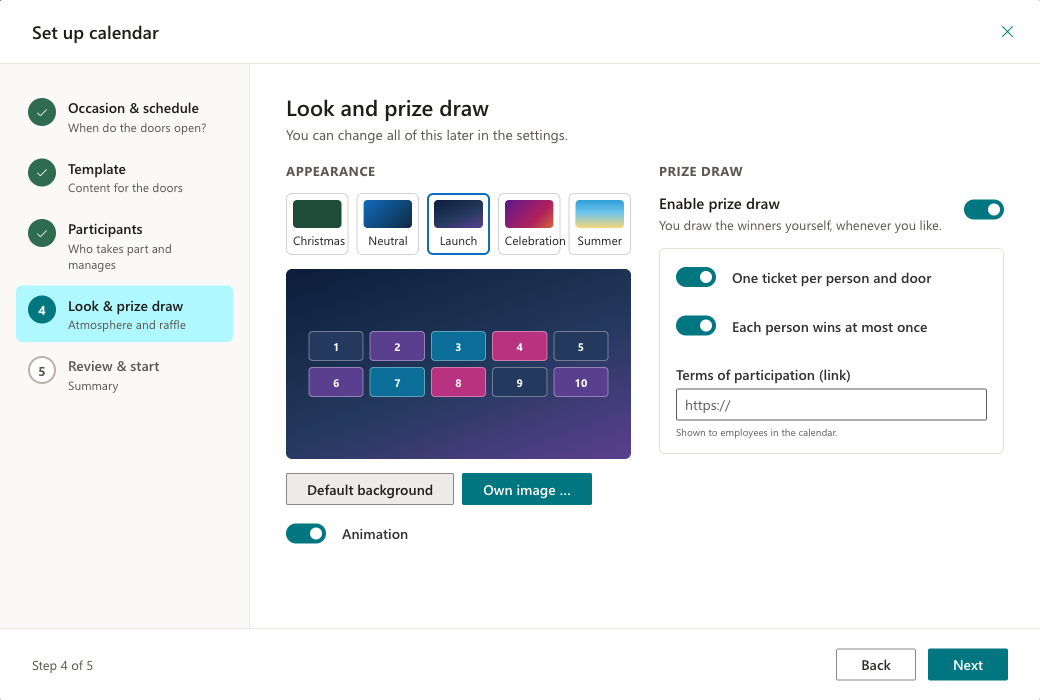
Decide who takes part and who manages. Then choose the design – Christmas, Neutralin your site's colours, Launch, Celebration or Summer – and the rules for the prize draw: one ticket per person and door, and each person wins at most once. Both are configurable; a link to your terms of participation is shown in the calendar.
Step 5: Review and start
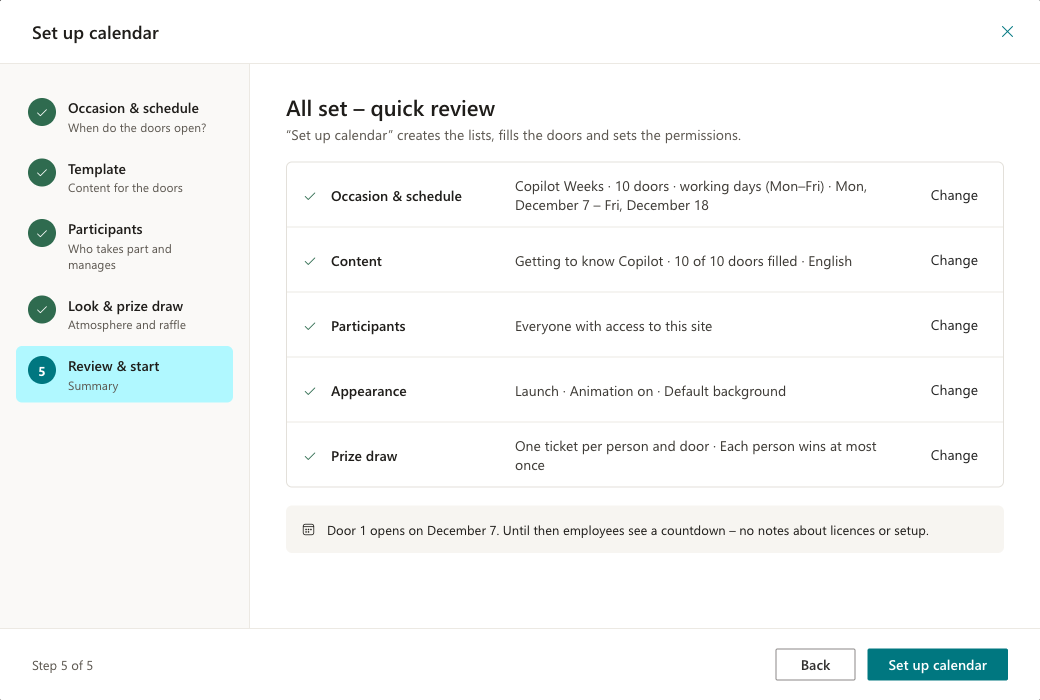
The summary shows occasion, schedule, content, participants, look and prize draw. “Set up calendar”creates the lists, fills the doors and sets the permissions. Afterwards you get a suggested announcement text.
Check and announce
After setup, managers see the admin bar above the calendar. It is only visible to managers and contains the “… % ready to start” checklist: can participants take part, do all doors have content, are placeholders replaced and terms of participation linked, have you viewed the calendar as an employee? You fix open items directly from the list. Once everything is done, the checklist disappears.
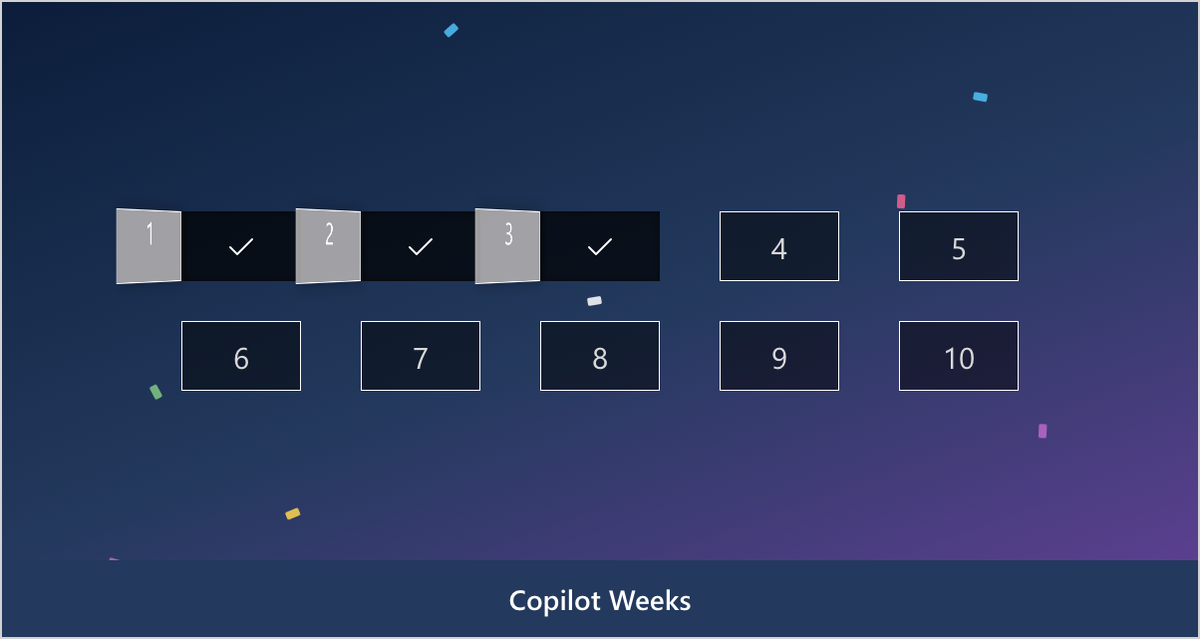
Preview as employee
“Preview as employee” shows the calendar exactly as your team sees it. Employees never see licence or vendor notes. Before the start the calendar shows a countdown to the first door.
Edit doors
Every door can be changed in edit mode. The door editor offers templates – also to replace the content of a single door with a different template.
Template per door
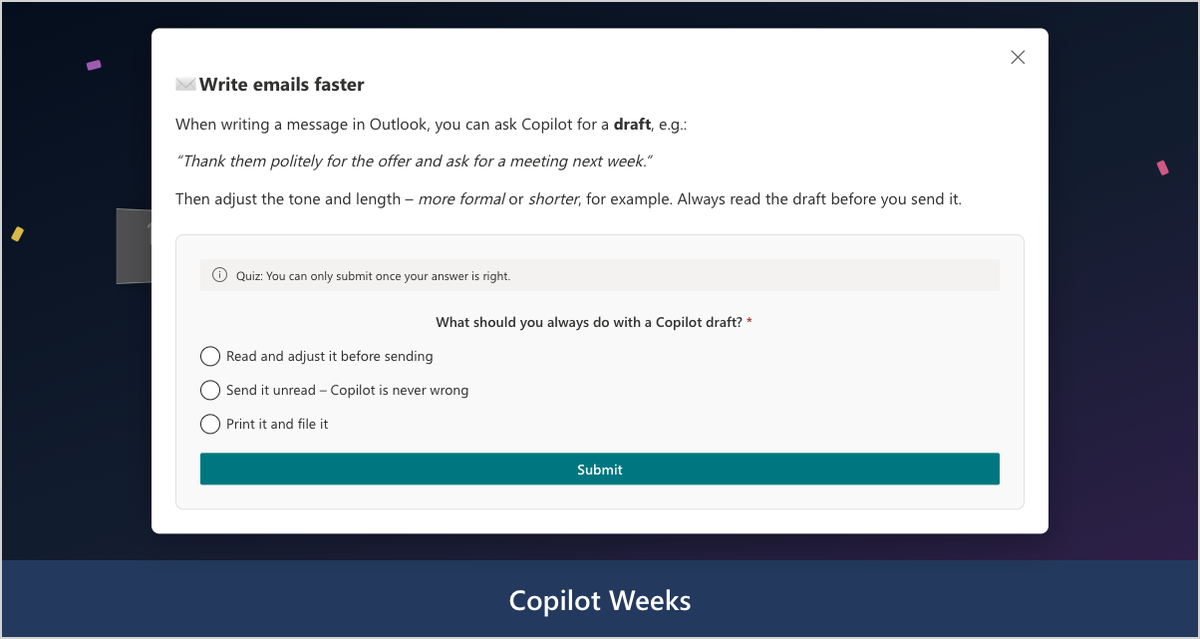
Pick a template in the door editor. Templates with a quiz, a survey or placeholders are labelled.
Quiz
Mark the correct answer in the form designer. Participants can only submit the correct answer.
Surveys
Questions, choice fields and free text in the form designer – no technical knowledge needed. Results appear in the report.
Placeholders
Replace text in square brackets such as [IT contact] with your company details. The checklist reminds you.
Settings and campaign
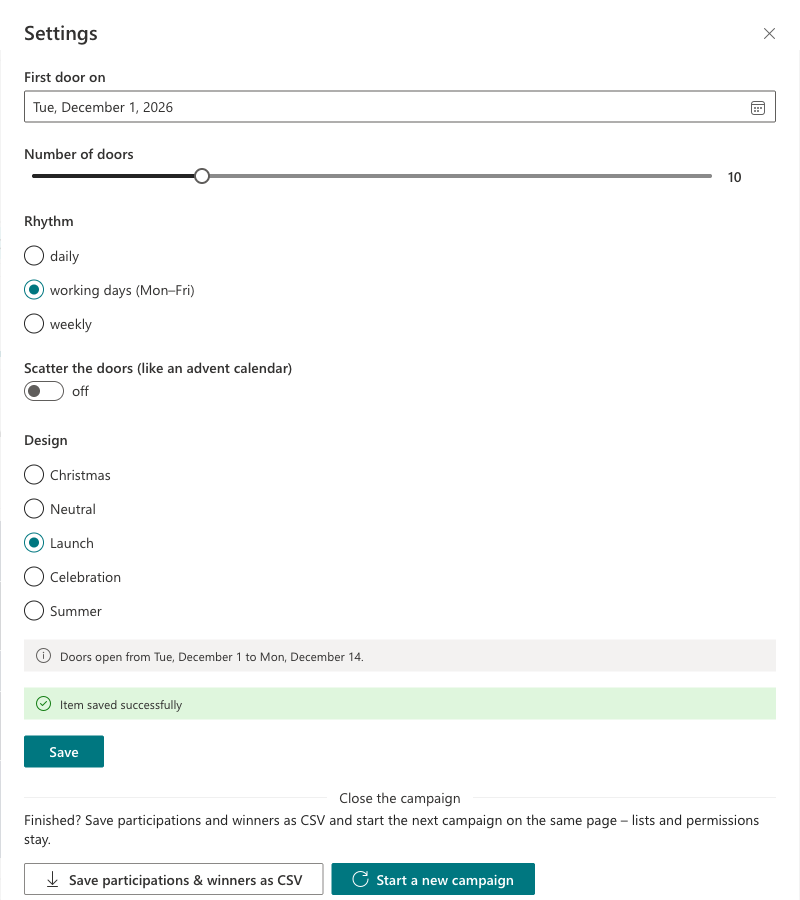
You reach the settings from the admin bar. They are split into tabs; the Campaign tab is new in version 1.4.
Campaign
Occasion, schedule and design of the running campaign – plus “Close the campaign” with export and restart.
Appearance
How the calendar looks: background, texts and, in the Christmas design, snow and the light rope.
Permissions
Who takes part and who manages. Managers maintain content, lists and the prize draw.
Lists and License
A direct way to the three SharePoint lists and the current licence status.
Designs
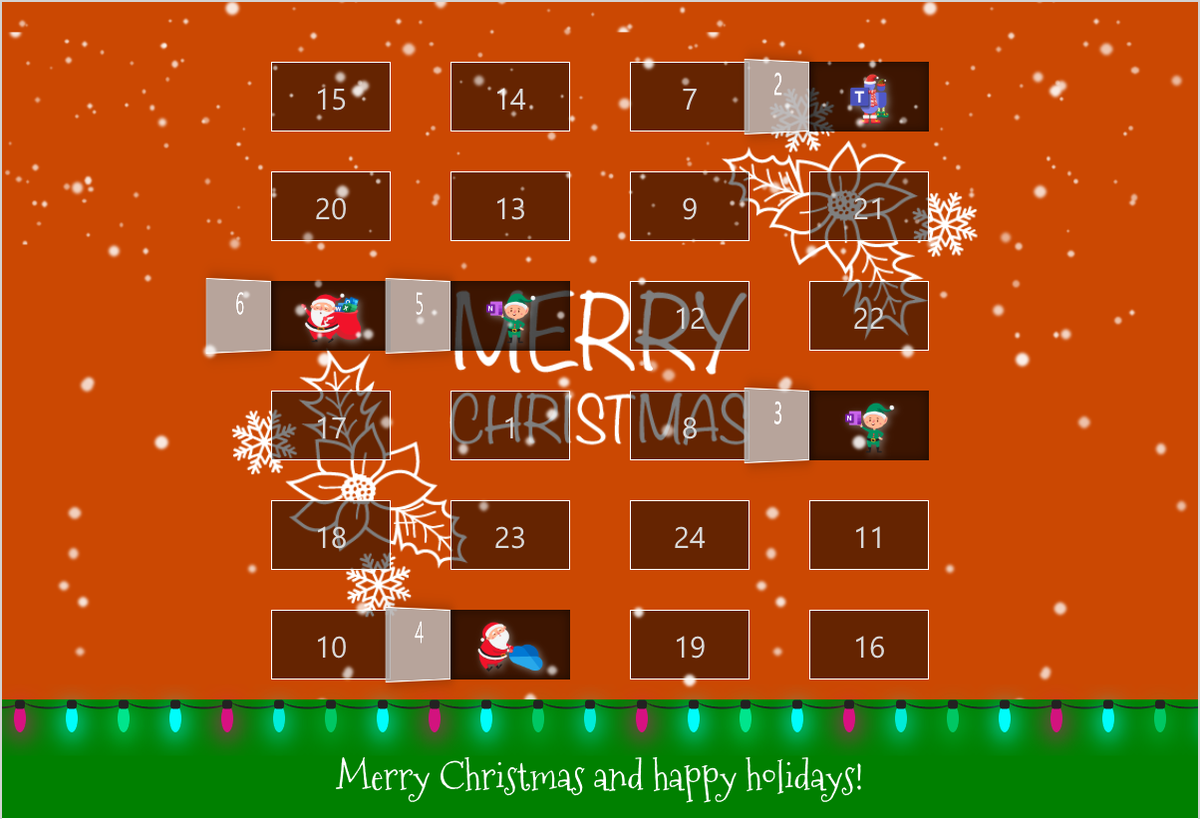
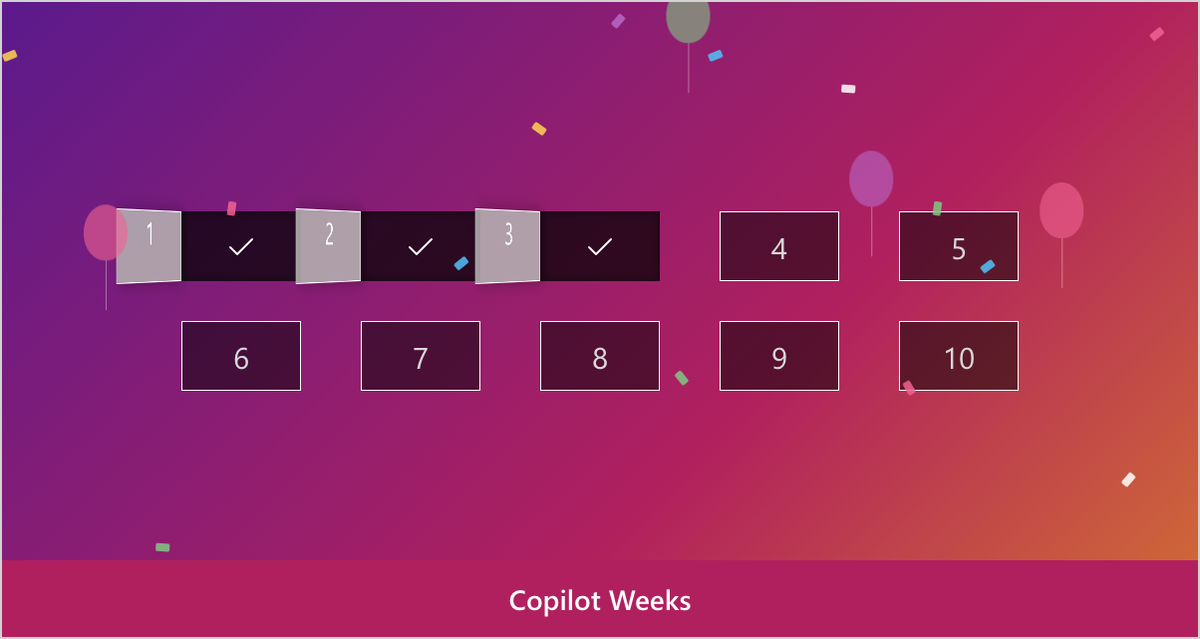
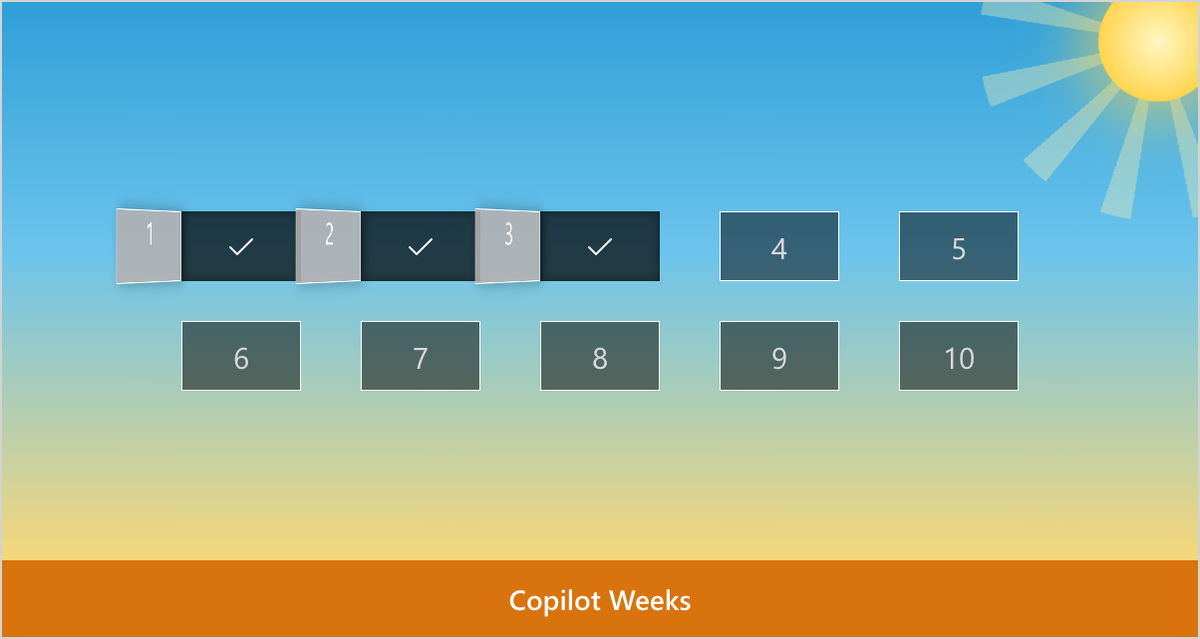
You can switch the design at any time. Christmas brings snow, a light rope and Santa, Neutral uses your site's colours, and there are Launch, Celebration and Summer. Your own background image is possible too.
Prize draw
You draw the winners yourself, whenever you like – via Raffle. In the Christmas design Santa draws the winners, in all other designs the raffle drum spins.
- One ticket per person and door: whoever opens more doors has more chances.
- Each person wins at most once: the prizes reach more people.
Both rules can be changed in the settings.
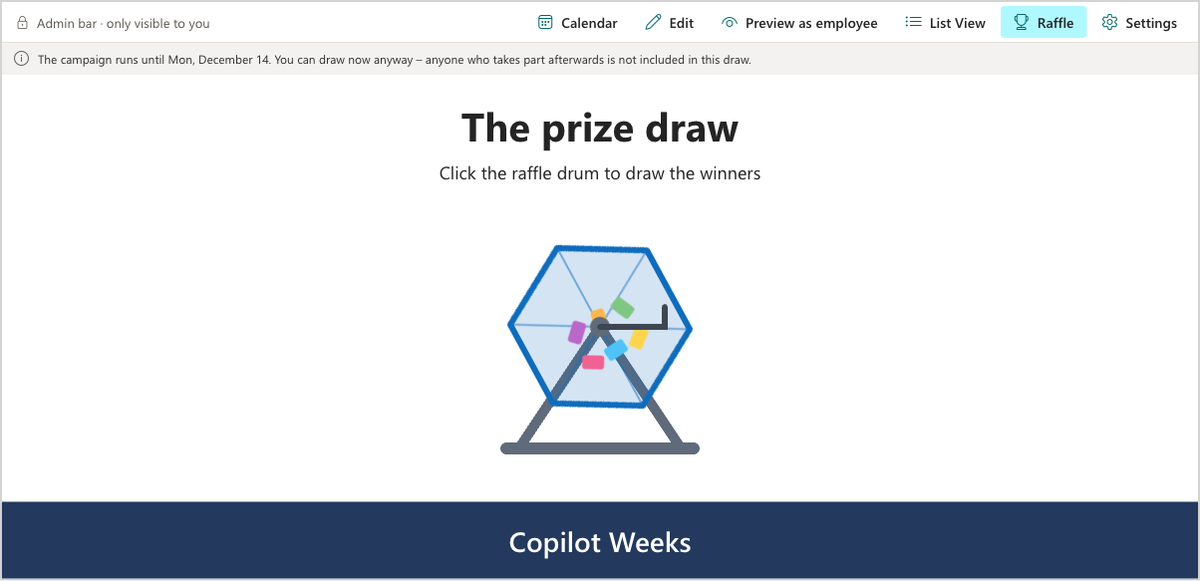
Drawing while the campaign runs
You can draw while the campaign is still running. Anyone who takes part afterwards is not included in that draw.
Reports
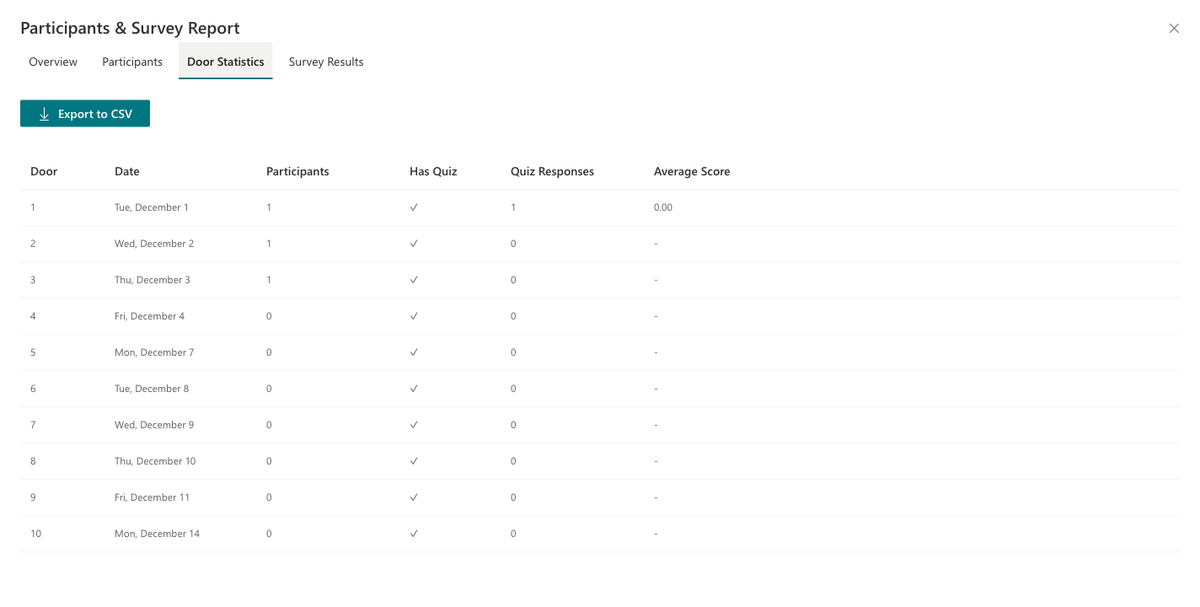
“View Report” opens the report with overview, participants, door statistics and survey results.
Participation per door
How many people opened each door – together with the door’s date.
Participation rate
Based on the doors opened so far, so the rate is meaningful while the campaign is still running.
Survey results
The answers from quizzes and surveys, summarised per door.
CSV export
“Export to CSV” downloads the data for Excel or your own analysis.
Close a campaign and start a new one
When a campaign is over, start the next one on the same page – for example Copilot weeks in May and the advent calendar in December. Lists and permissions stay as they are.
- In the settings, open the Campaign tab and go to “Close the campaign”.
- Use “Save participations & winners as CSV” to keep the data of the running campaign.
- Click “Start a new campaign” and confirm that the data is saved.
- Choose occasion, schedule and content of the new campaign. You can keep the existing door content.
- “Start campaign” fills the doors and applies schedule and design.
Participations and winners are deleted
Starting a new campaign deletes all participations and winners of the running campaign. Save the CSV file first if you still need the data.
Microsoft Teams
Add the calendar as a tab in a Teams channel. It follows the Teams theme – default, dark and high contrast. The wizard starts right in the tab; once the tab is saved, all team members see the calendar.
Licensing
On first start the app creates a 14-day trial licence with all features. After that you need a licence from Microsoft AppSource. Your content is kept.
- Site licence: all features on one site (site collection).
- Tenant licence: all features on every site and in Teams across your organisation.
There are no feature tiers any more: every valid licence includes all features. The License tab in the settings shows the current status.
Frequently asked questions
We already use Smarter Advent Calendar. Do we have to do anything?
What do employees see before the start?
Can I change the number of doors later?
Who can see which data?
How do I include videos or images?
Questions about this product?
Our support team is happy to help with any questions about Smarter Engagement Calendar.