
Getting started with Smarter Image Map
Set up a responsive process landscape, floor plan or interactive diagram in SharePoint in a few steps.
App and licensing offer available
Install the free Microsoft 365 app package. After the fully functional 14-day trial, purchase the appropriate Smarter Image Map License directly from Microsoft if required.
Before you begin
You need access to the SharePoint App Catalog and editing permissions on the site where you want to use the map. A modern PNG, JPG or SVG image with readable labels works best.
Install the app
- A SharePoint administrator installs Smarter Image Map from Microsoft Marketplace in the tenant App Catalog.
- Deploy the app tenant-wide or add it to the target SharePoint site.
- Edit a modern SharePoint page and add the Smarter Image Map web part.
- Publish the page. The empty web part shows a short introduction and the Edit image map and Help and instructions actions.
Alternatively, use a SharePoint full-page app
- Open Site contents > Site Pages and create a new App page (Single Part App Page).
- Select Smarter Image Map, create the page and publish it.
- The image map now uses the complete page canvas; configure the map in the same way as the web part on a modern page.
Alternatively, use a Microsoft Teams channel tab
- Select Smarter Image Map in the tenant App Catalog and choose Add to Teams or Sync to Teams. The label depends on the App Catalog experience in your tenant.
- Wait until SharePoint confirms that synchronization succeeded.
- Open Microsoft Teams Desktop, go to the intended team and channel, and select + Add a tab at the top.
- Search for Smarter Image Map, add it as a channel tab, and configure the map in the tab.
Teams channel tab, not a personal app
The package supports a configurable tab in a team channel. It does not include a Teams personal app and therefore does not appear as a personal app in the left-hand Teams navigation.
The first map is ready for setup
You do not need to enter a technical name in the web part properties. Use Create new map only for additional or nested maps.
Microsoft explains the general installation process inAdd an app to a site.
Create your first map
- Open the published page. Until you configure an image, the start screen explains the next steps.
- Open Help and instructions if you want the in-product overview. Close the panel with Close help (X) or press Escape.
- Select the Edit image map pencil in the top-right corner of the web part. The SharePoint page does not have to be in page-editing mode.
- Enter a clear Map title.
- Select Select image and choose a file from the site, OneDrive or your organizational assets. You can also upload a file.
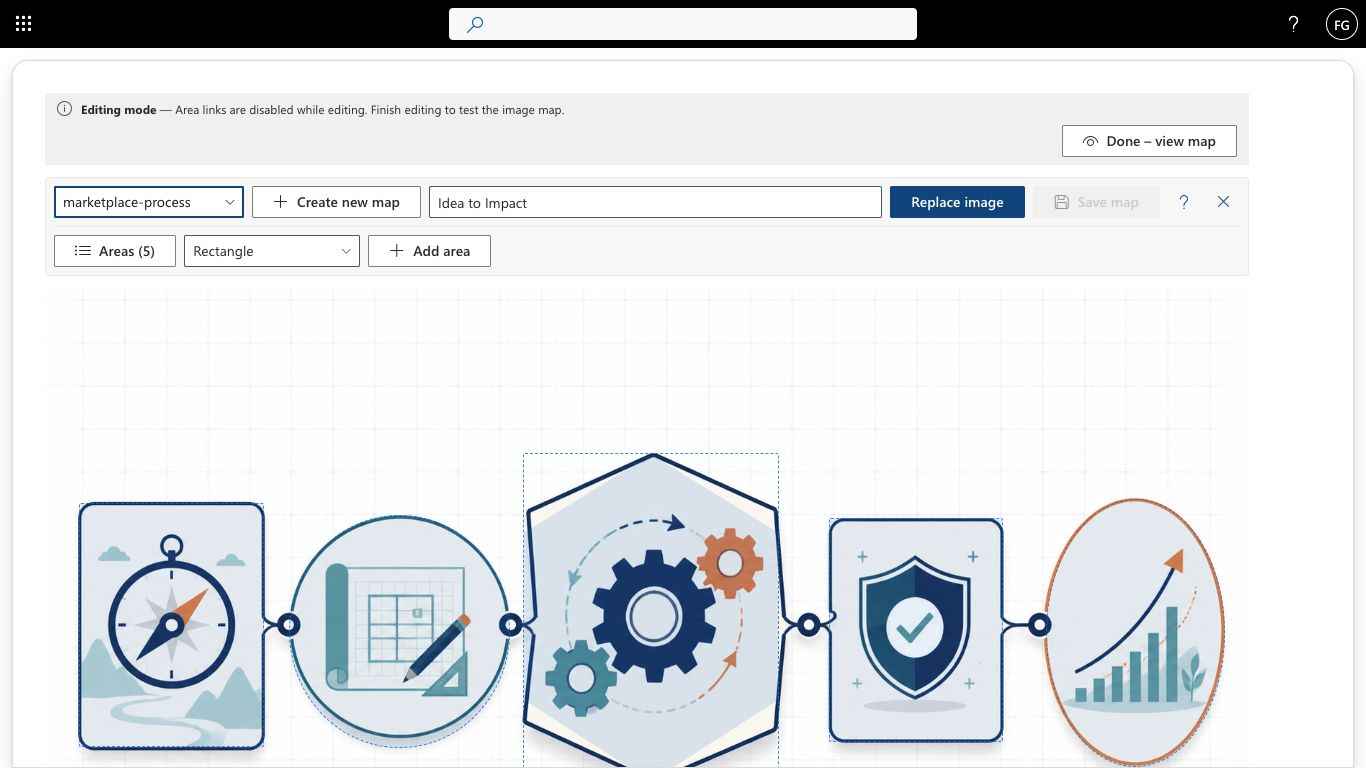
- Choose a shape, then select Add area.
New map or new image?
For your first map, use Select image. After selection, the same action becomes Replace image and changes the current map’s image. Create new map creates a separate additional map. Before replacement, the web part confirms the map name and number of existing areas.
Open help at any time
Help and instructions explains the main actions inside the web part. The panel does not change map data and closes with Close help (X) or Escape.
Configure areas and targets
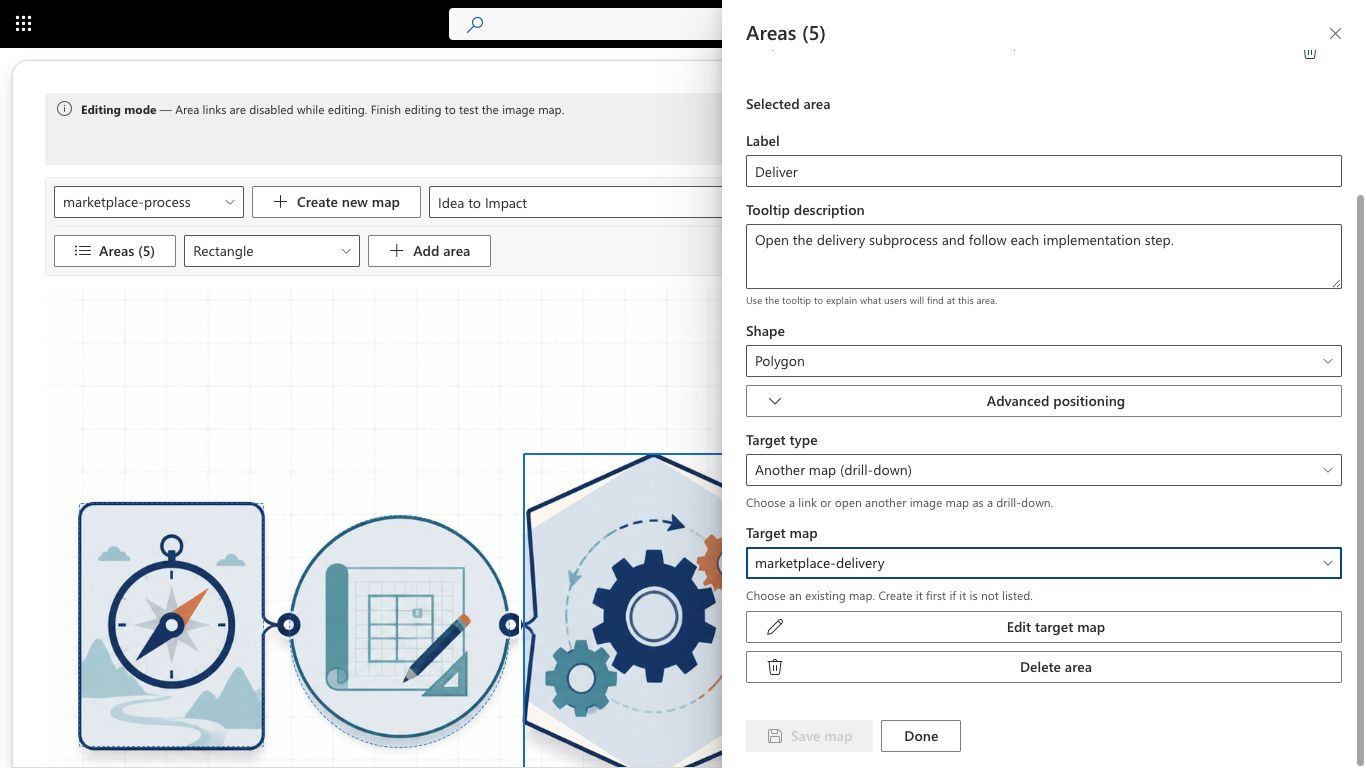
Draw an area directly on the image or create it with Add area. Areas opens the list and the selected area’s settings on the right. Done closes the panel but does not save the map.
Choose a shape
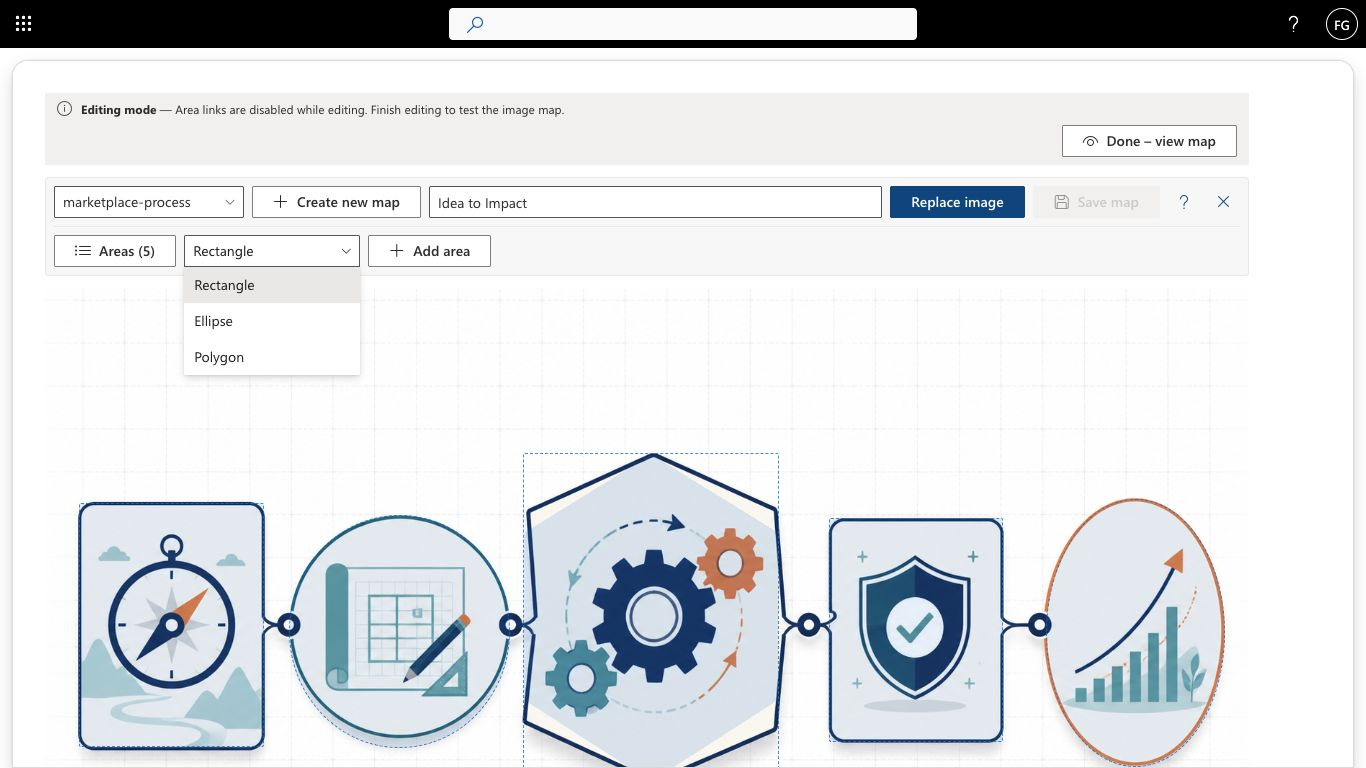
- Rectangle: for process stages, map sections and clearly bounded elements.
- Ellipse: for round symbols, people or equipment.
- Polygon: for irregular buildings, regions or machine parts. Click at least three points, then select Finish polygon.
Set content and destination
- Enter a short, distinct name under Label.
- Add a Tooltip description that explains the area’s purpose and destination.
- Choose URL or Another map (drill-down) as the Target type.
- For URL targets, enter an HTTPS address. Enable Open in a new tab for external content or when people need to keep the current context.
Write useful tooltips
Name the destination first, then explain its value. For example: “Work preparation – open templates, roles and approval steps.” Avoid generic instructions such as “Click here.”
Save changes safely
- Close the Areas panel with Done if it is open.
- Select Save map in the editor.
- Wait for the Saved. message.
- Leave the editor using Close editor.
Map changes and page changes are saved separately
Done only closes the Areas panel. Publishing the SharePoint page does not save open map changes either. Always use Save map. When you close the editor or switch maps, Smarter Image Map warns about unsaved changes and offers Save, Discard or Cancel.
Build drill-down maps
- Select Create new map in the editor.
- Enter a unique technical name, such as
maintenance-process, and a visible title. - Choose an image, add areas and save the new map.
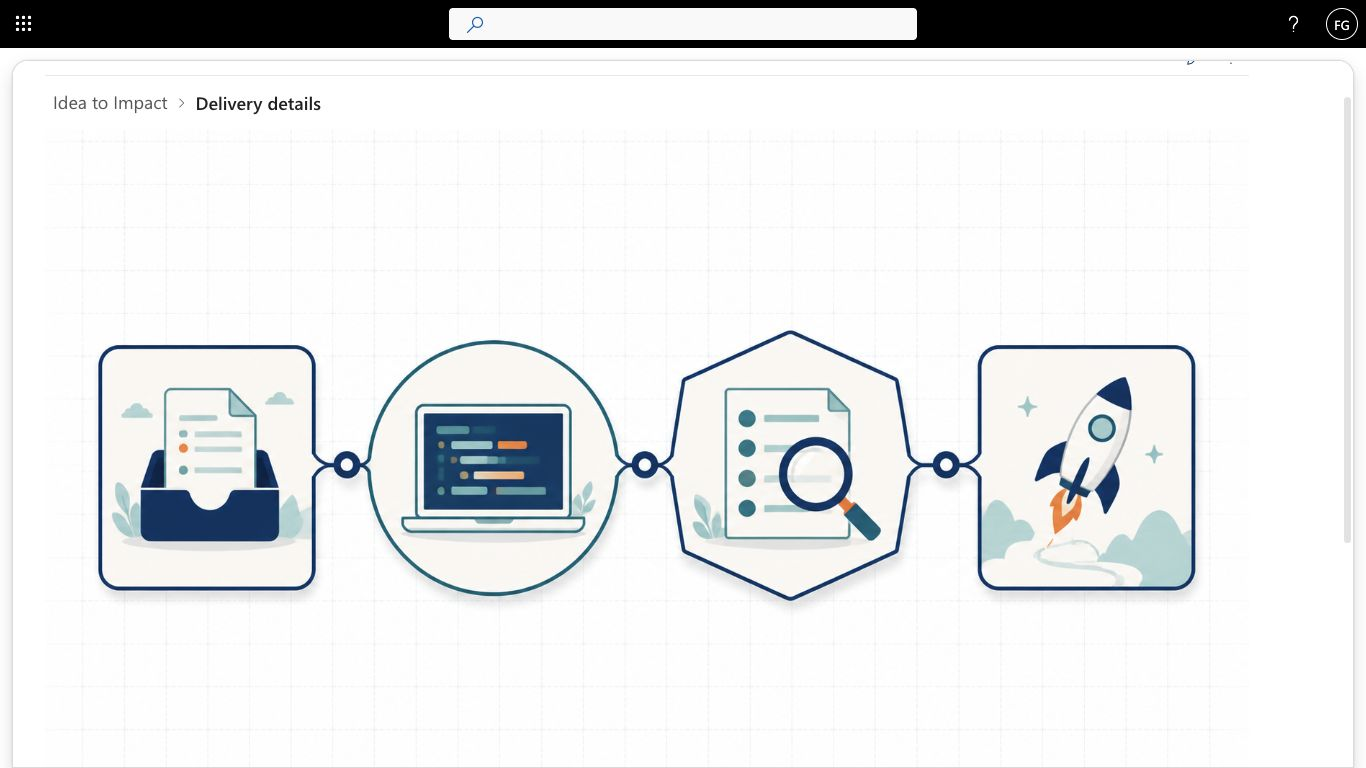
- Return to the overview map and select the area that should open the detail view.
- Choose Another map (drill-down) as the target type and select the new target map.
- Save and close the editor. The area now opens the detail map in the same web part.
Keyboard and accessibility
Smarter Image Map supports the WCAG 2.2 AA interaction patterns relevant to the web part. The accessibility of a finished map also depends on the source image, labels and linked content.
Navigate a map
- Press Tab to move through clickable areas.
- Press Enter to open links and drill-down maps; the Space key also opens drill-downs.
- Press Escape to dismiss an open tooltip.
- A visible focus indicator always identifies the active area.
Edit areas without dragging
- Add area creates a shape without a drag gesture.
- Arrow keys move the selected area by one percentage point.
- Shift + an arrow key changes its width or height.
- Advanced positioning lets you edit coordinates, size and polygon points numerically.
Content-owner accessibility check
Use an understandable image, distinct area names and descriptive tooltips. Test the completed map at 200% browser zoom and using only a keyboard.
Data storage and licensing
- Maps and images live in
SiteAssets/ImageMapsin the current SharePoint site. - The app requires no Microsoft Graph permissions.
- The license check sends only the tenant URL, site-collection URL and product identifier
smarterimagemap. - Images, map definitions and user data are never sent to the licensing service.
- A fully functional 14-day trial starts automatically when you first use the app.
Your content is preserved
Maps and images remain stored in SharePoint after the trial ends. Once you activate a license, you can continue without rebuilding anything.
Frequently asked questions
Is Smarter Image Map already available on Microsoft Marketplace?
Where are images and map definitions stored?
SiteAssets/ImageMaps folder. The app creates this folder automatically on first use.Can I replace the image of an existing map?
Why can’t I edit a map?
What happens if the licensing service is temporarily unavailable?
Do the areas work on mobile devices?
Questions about this product?
Our support team is happy to help with any questions about Smarter Image Map.