We previously shared our idea for a guest registration with QR codes. To make the solution even more intuitive, we’ve refined it further. The setup now includes an Outlook add-in plus a small web app that companies can use at reception to register guests in Outlook. In this article, we’ll give you a closer look at what changed.
Send a QR code via the Outlook add‑in
We updated the Outlook add-in that generates the QR code to streamline the workflow. When creating a meeting, organizers can add a QR code via a ribbon button. The code contains the ID of the meeting so attendees can register at reception by scanning it when they arrive.
The QR code is embedded directly in the meeting invitation, so there’s no need to send it in a separate email.
Web app for guest check‑in and check‑out
To handle both check-in and check-out, we built a simple web app. At reception, companies can provide a device (for example, a tablet) that runs the app, allowing guests to check themselves in and out.
Registering a guest
Guests have two ways to register on arrival. The quickest is to scan the QR code they received with the meeting invite. When a guest scans the code, we create a new calendar entry for them via Microsoft Graph, and they are considered registered.
By default, the meeting’s end time is set to the end of the day (11:59 PM). When the guest checks out, we update the end time to the actual time.
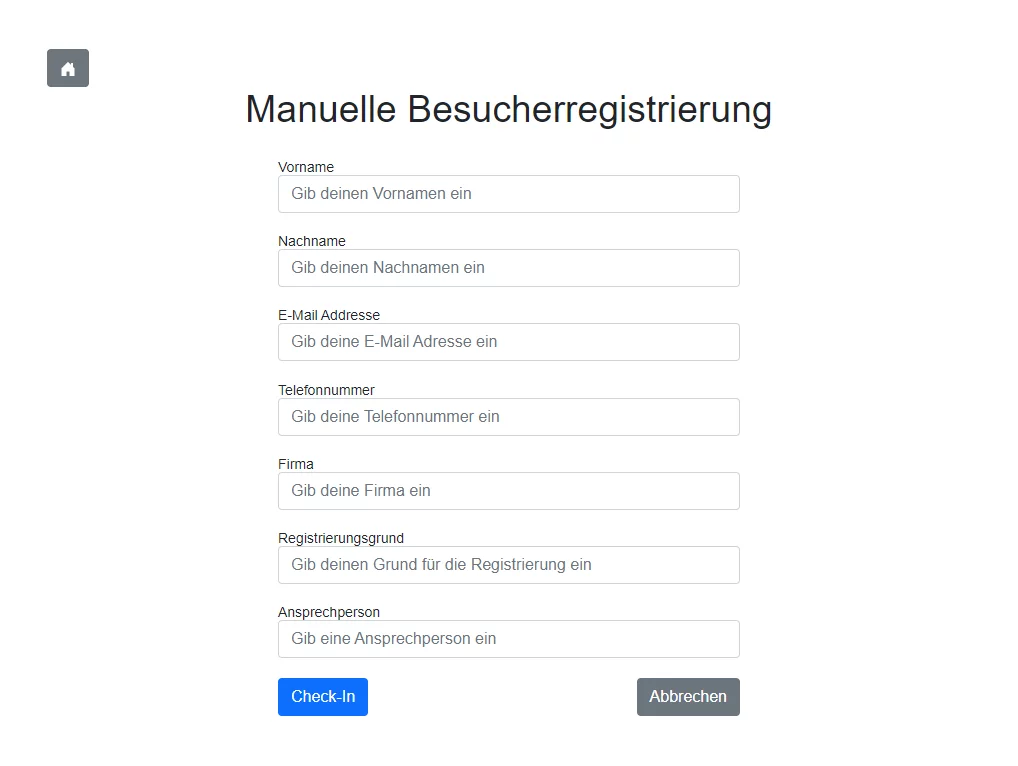
If a participant didn’t receive a QR code in advance, they can register manually using a form.
After a guest registers (via QR code or manually), they receive a new QR code by email, which they can use later to check out.
Checking out with a QR code
When a guest leaves the building, they simply scan their QR code again on the reception tablet to check out. We look up the corresponding meeting using the ID contained in the code and update the meeting’s end time. The guest is now checked out.