Like many organisations we receive most support requests by email in a dedicated inbox. Processing and tracking these emails alongside day-to-day business can be tricky – an occasional ticket slips through the cracks. That is why we built an automation that creates Azure DevOps work items from Office 365 emails.
Microsoft 365 offers plenty of building blocks. For our scenario we combined Power Automate (formerly Microsoft Flow) with Azure DevOps and decided to automate our support workflow. Since then no request gets lost: incoming support emails automatically become Azure DevOps work items. The documentation effort for our team shrank dramatically and customers receive a quick confirmation that their issue is registered and will be handled soon.
Bring your customers along
For the automation to work you need to involve your customers. Explain the benefit and the process to them. The feedback has been very positive and the collaboration improved noticeably. Once customers follow the agreed template in their emails, the flow has been running flawlessly for weeks. On the development side the automation also makes planning much easier – properly registered work items slot neatly into sprints and we can respond faster.
Here is how we assembled the Power Automate flow.
The Power Automate flow
Trigger action
We start the flow with the When a new email arrives (V3) trigger that watches a defined Office 365 mailbox.

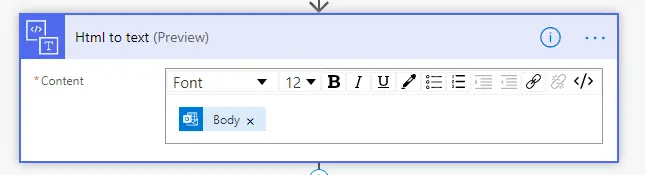
Convert the email body
To parse the information we convert the HTML email body into plain text using the Html to text action.
Initialise variables
Next we initialise all string variables we need to build the bug description: a short summary, the SharePoint site URL, affected users, topic, the optional correlation ID plus variables for the work item ID, title, mail link, message ID and reply subject. The exact set depends on your process – we analysed our existing intake workflow and captured the mandatory fields.
Validate the sender and the structure
This step is optional. We only process emails from trusted senders. We also check whether the converted body follows the agreed structure. If the placeholders such as [URL]: and [Topic]: are present we parse the values and store them in the variables. Extracting the URL, for example, involves a couple of string expressions to get the substring between the markers.
Create the work item in Azure DevOps
Before creating a work item we check whether the email relates to an existing ticket. Follow-up mails include the work item ID in the subject in the format [#

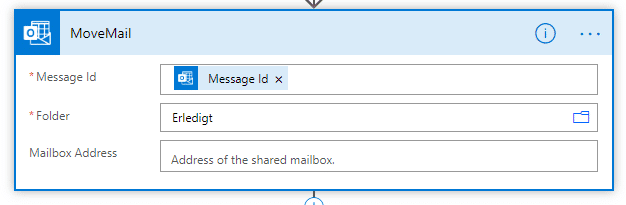
File the message and build the Outlook link
To keep things tidy we move the processed message from the inbox to the “Done” folder.
Azure DevOps currently has no native action to attach files to a work item, so we rely on Office 365. Using the message ID we build a link that opens the conversation in Outlook on the web:
https://outlook.office.com/owa/?ItemID=<MessageID>&viewmodel=ReadMessageItem&path=&exvsurl=1Update the work item
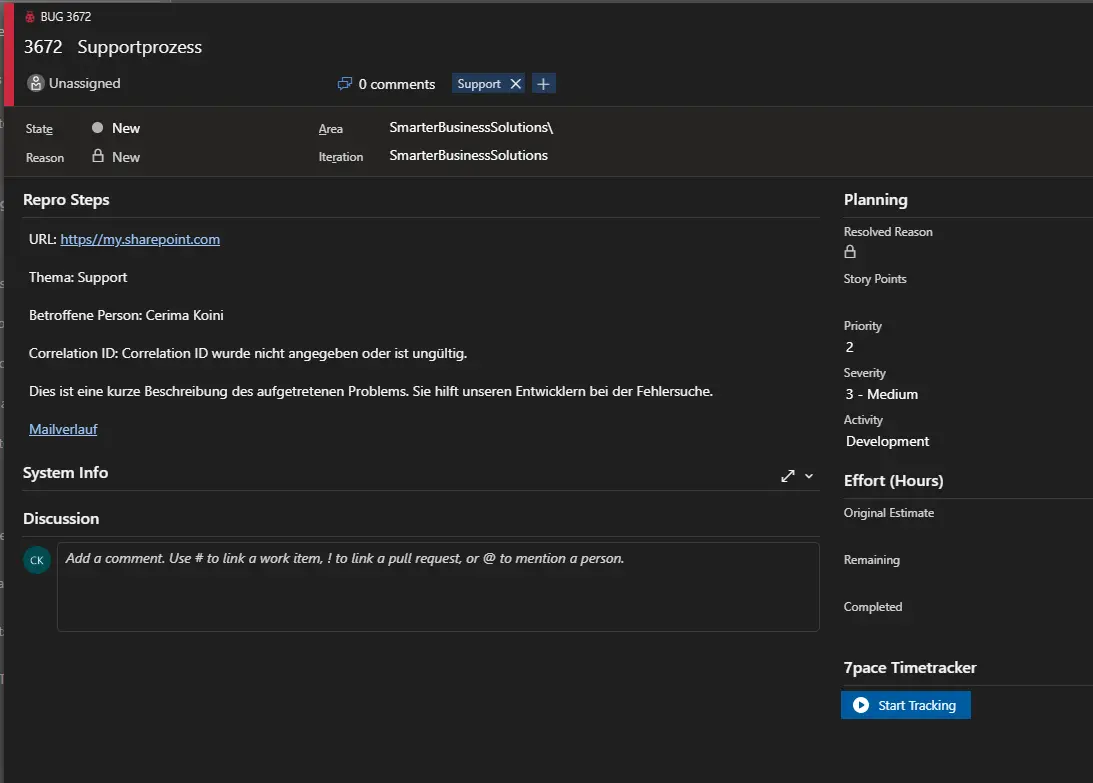
Finally we fill the work item with the collected details.

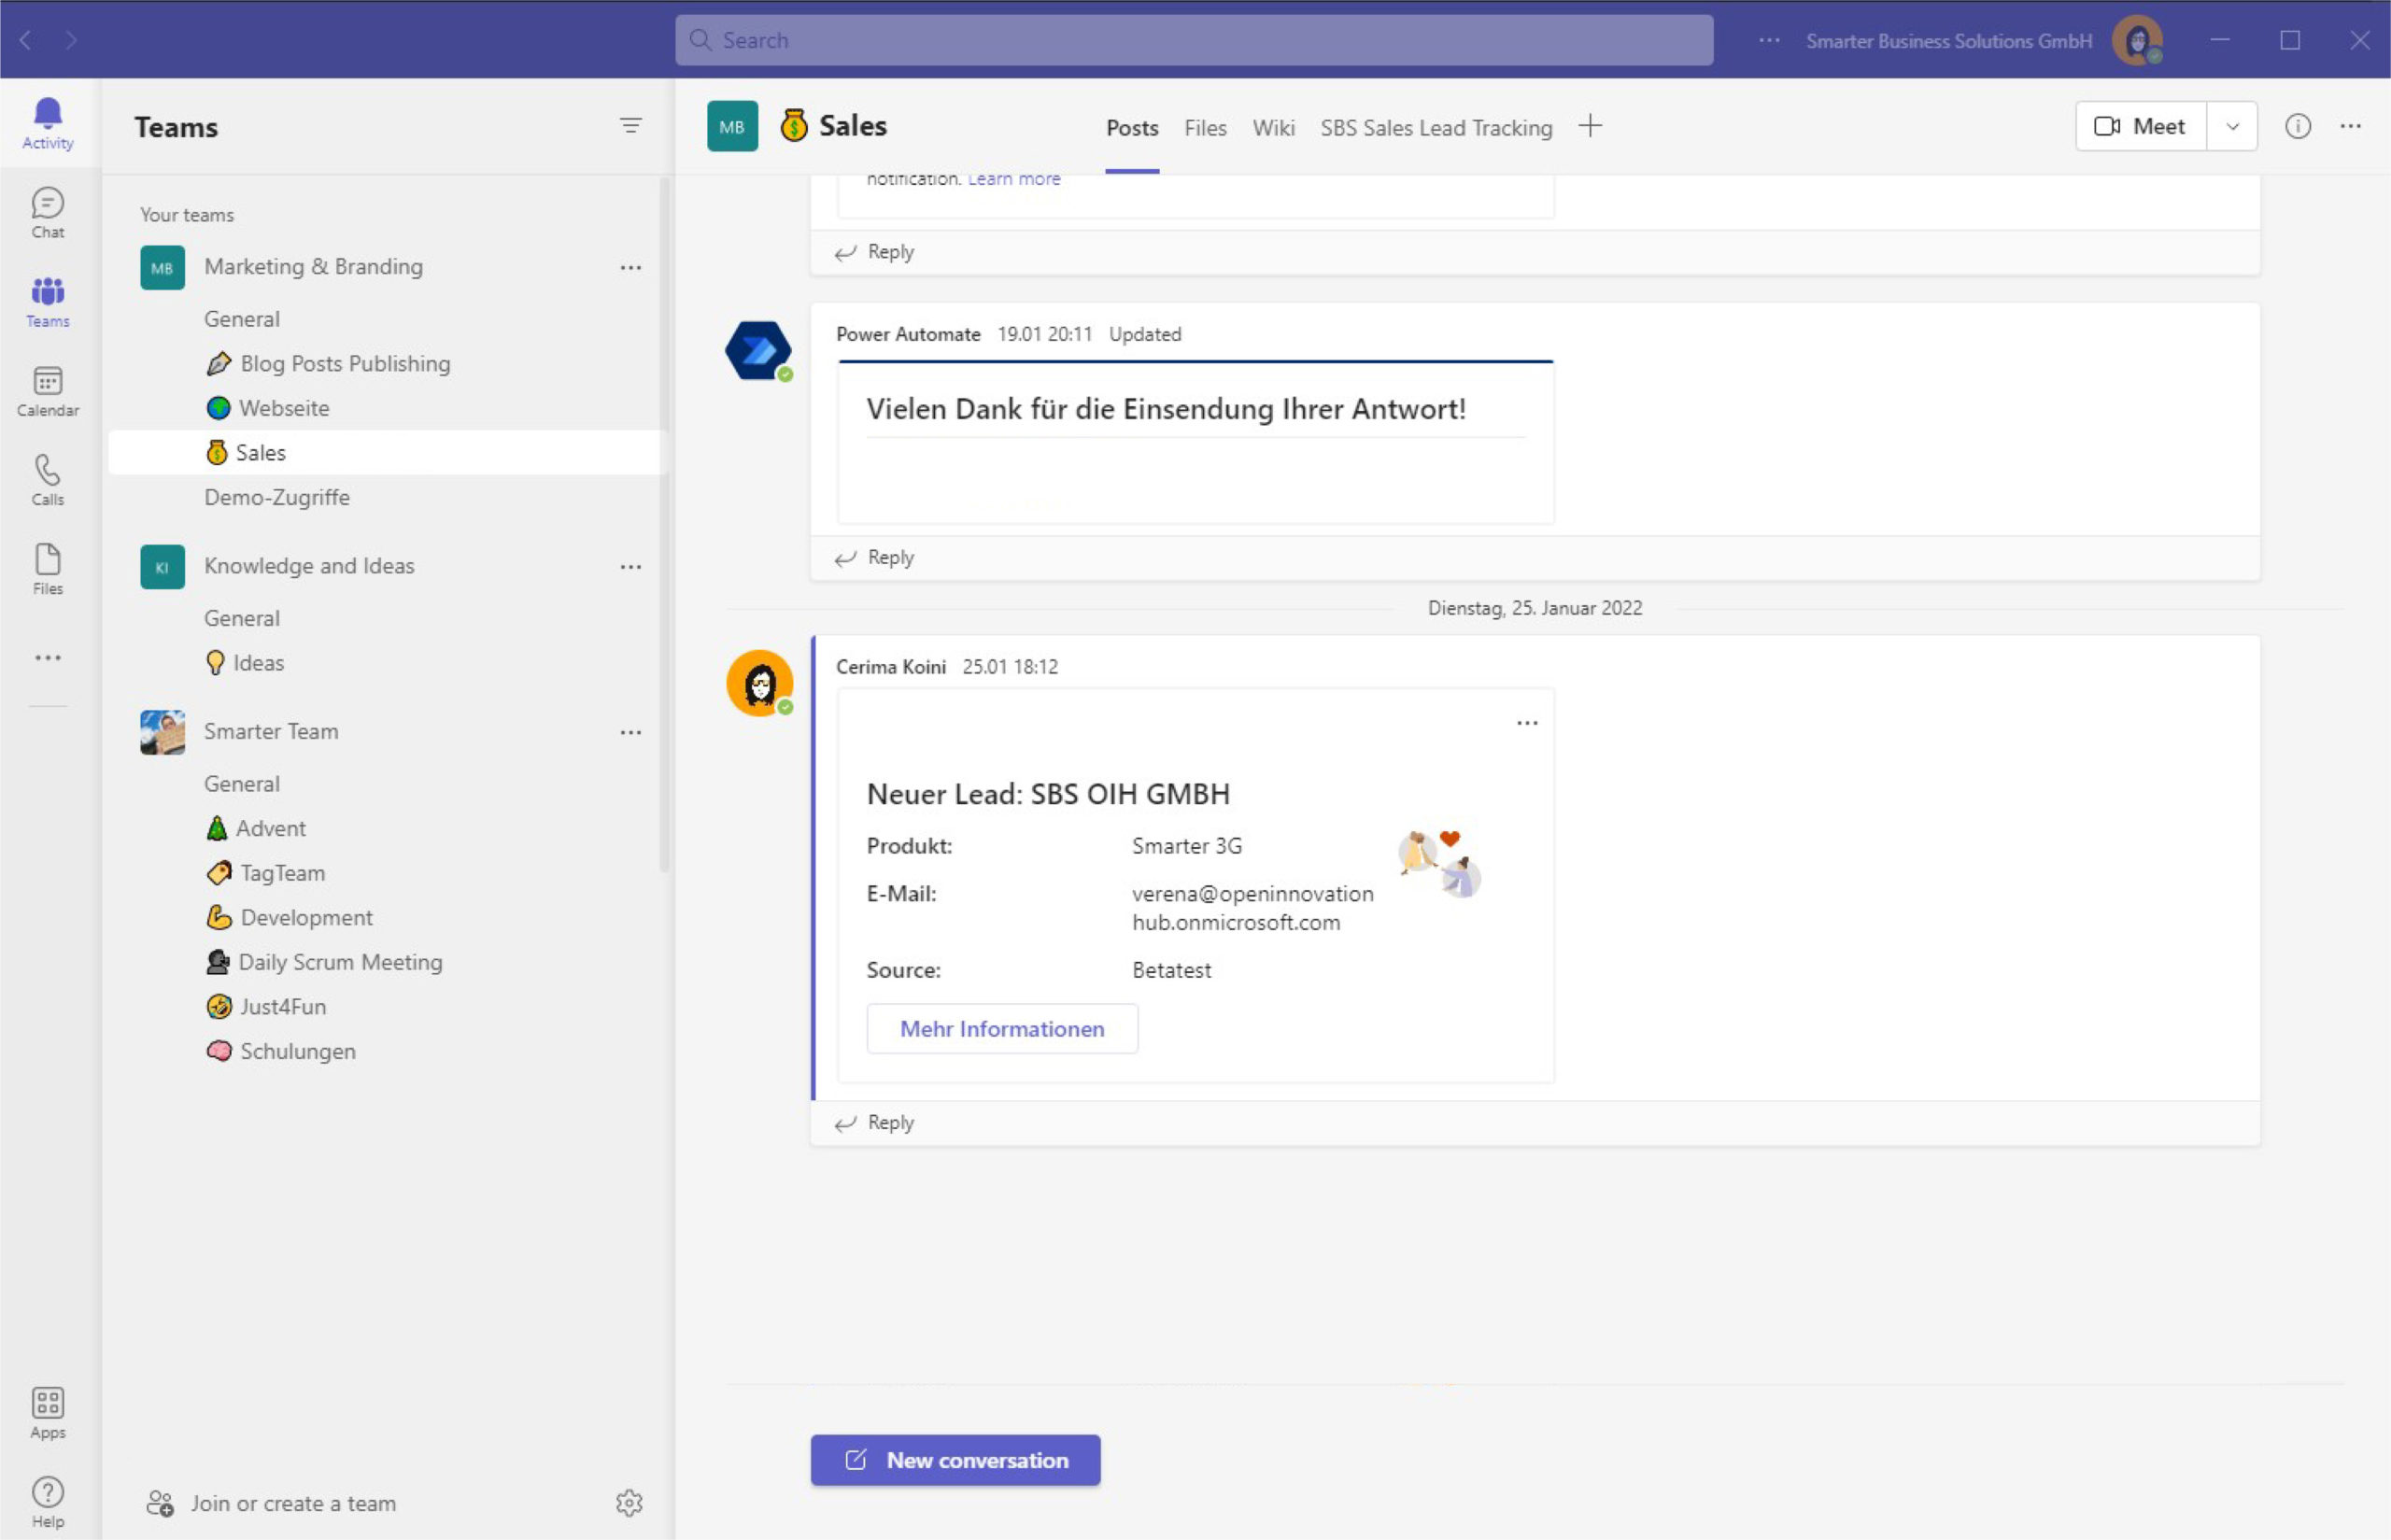
The flow is ready to go and every Office 365 support email becomes an Azure DevOps work item. This is what the result looks like:
Want to learn more about Power Automate? Read how to start a Teams channel conversation from an Outlook email uploaded via Flow.
Have questions? Get in touch with us.