Why we automated the process
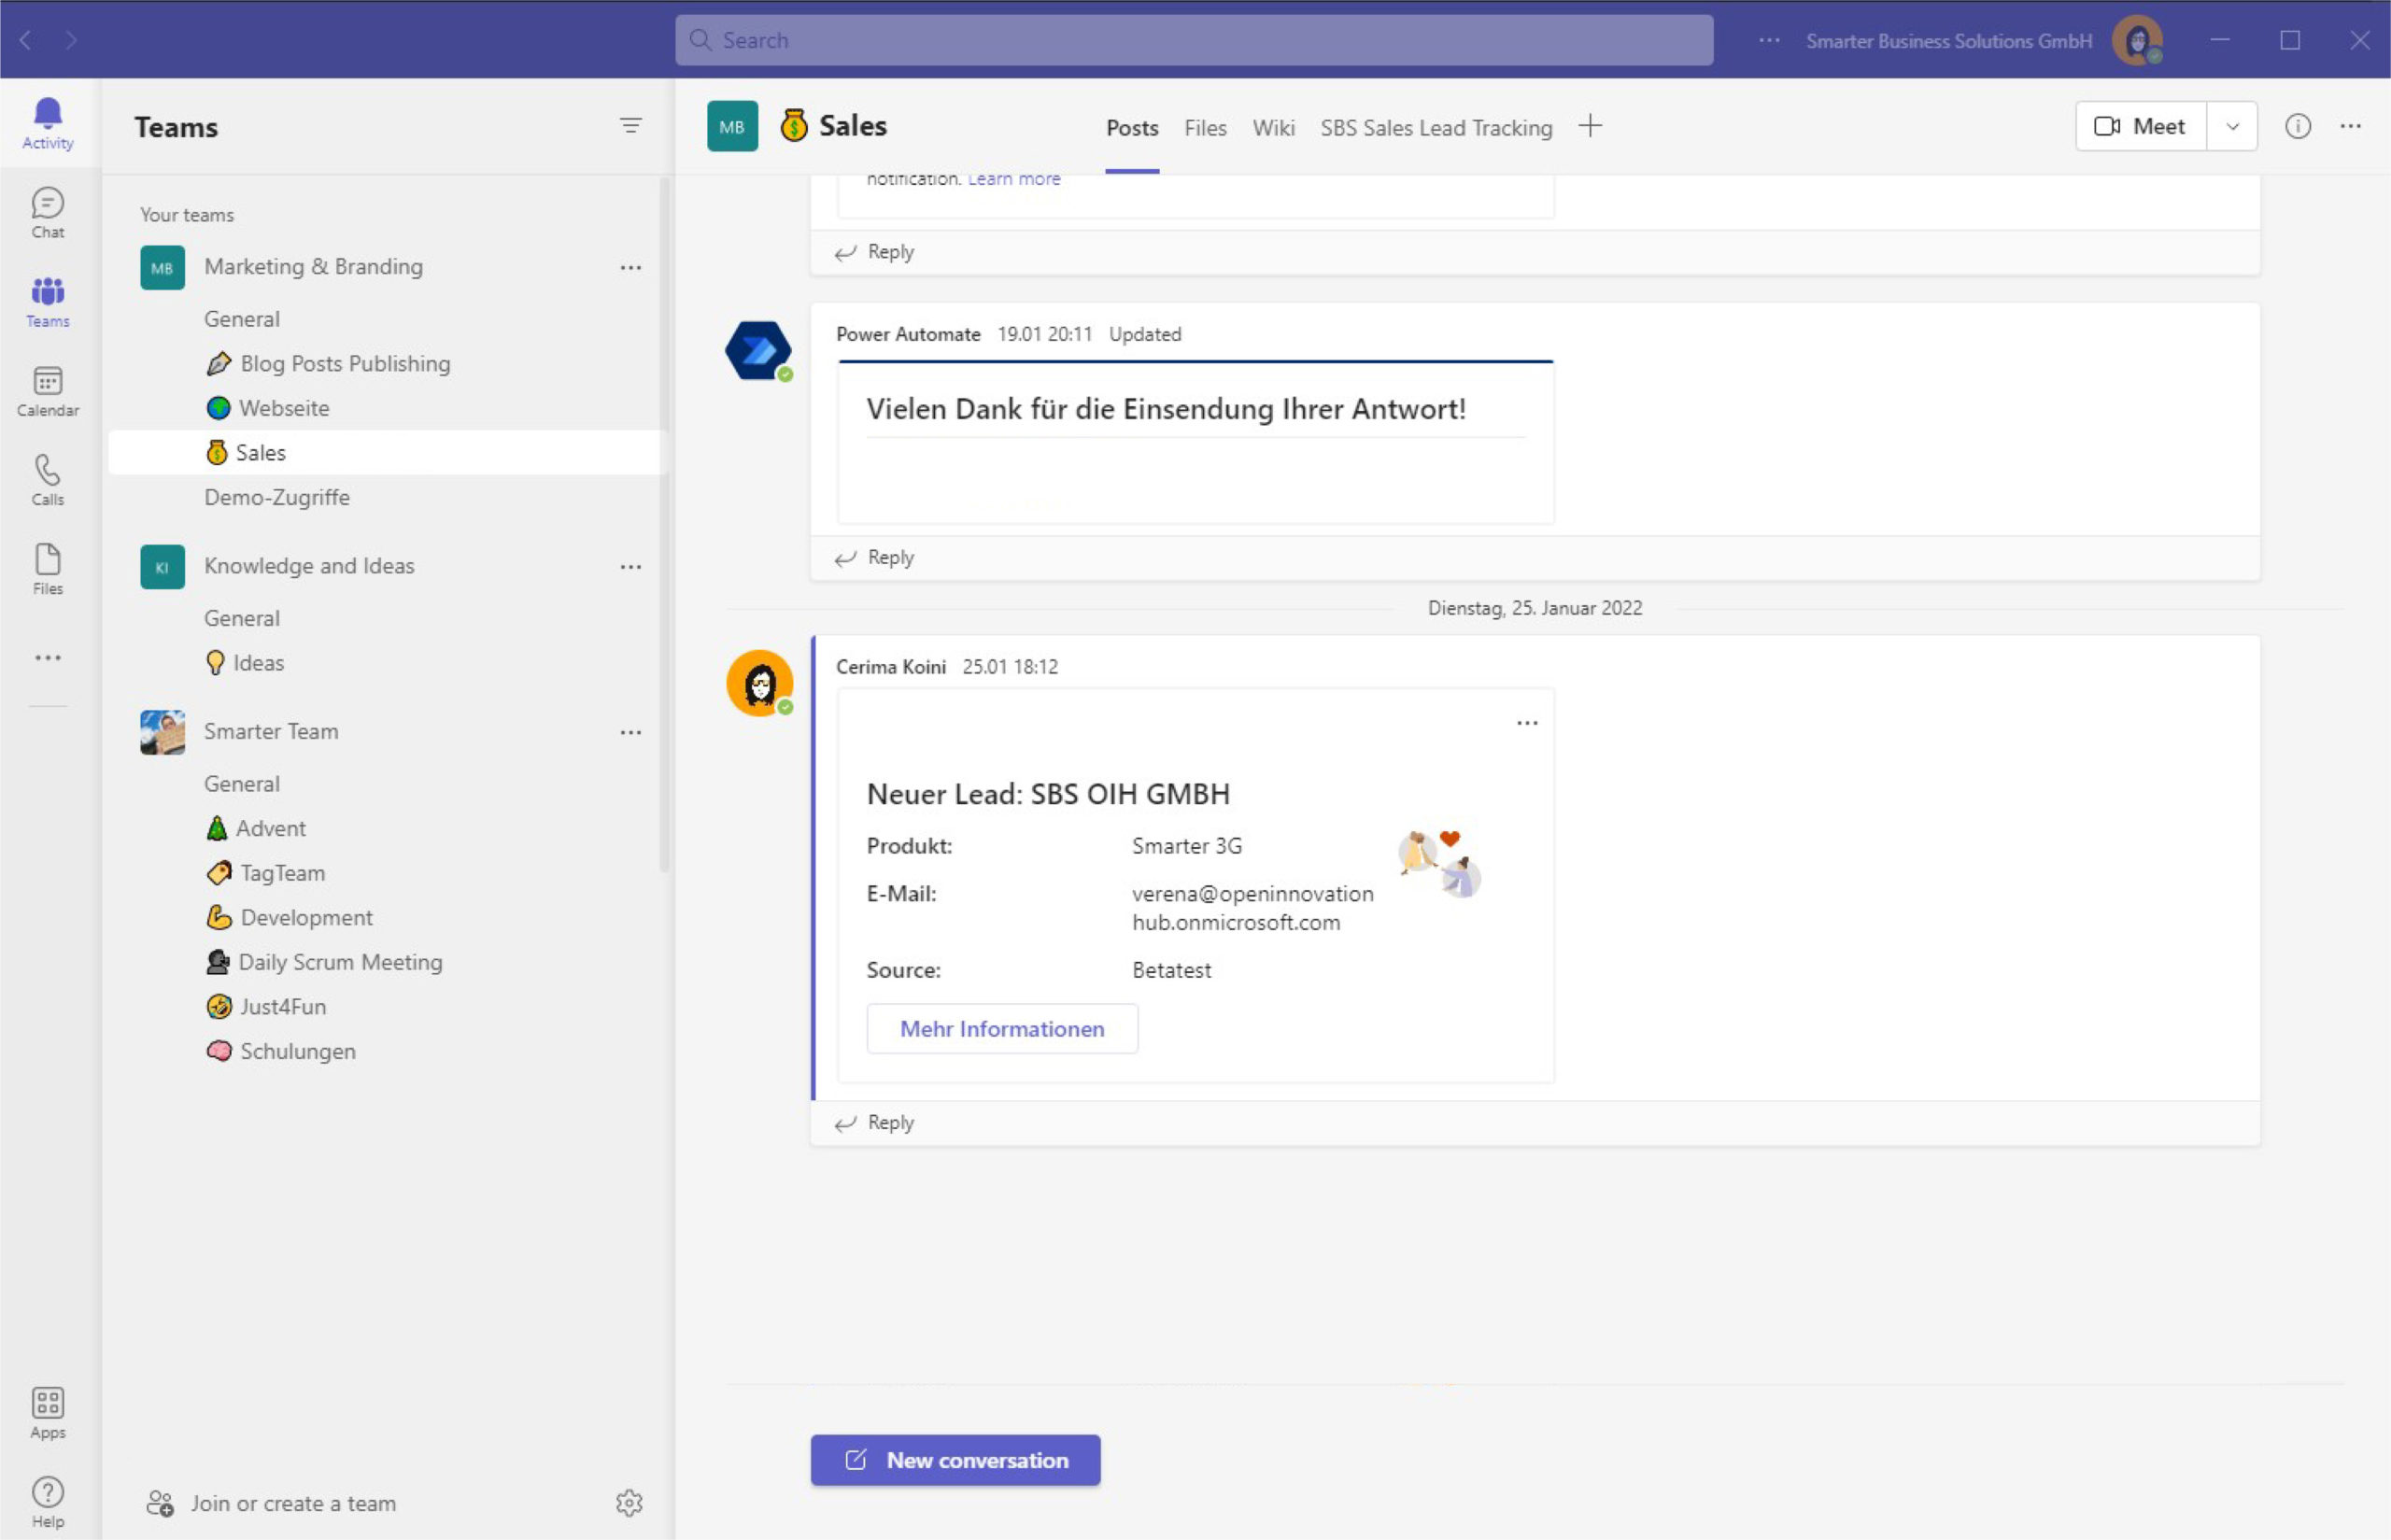
Like many companies, we receive most support requests via email in a dedicated mailbox. Processing those requests alongside day-to-day work makes it easy to overlook a ticket. By pairing Office 365 with Azure DevOps we now create work items automatically for every incoming mail and never lose sight of an issue.
Microsoft 365 offers plenty of tools that can help with that challenge. After a short evaluation we chose Power Automate (formerly Microsoft Flow) and Azure DevOps to streamline the entire support workflow. The automation keeps documentation consistent, removes repetitive work for the team, and reassures customers with instant acknowledgments.
Bring customers on board
Automation only works when customers use the agreed template. We therefore briefed them on the structure, required fields, and the benefits: a SharePoint URL, affected users, the topic, and optionally a correlation ID for technical incidents. With that joint understanding the process has been running smoothly for weeks and improved both response times and sprint planning on the engineering side.
Walk through the flow
Below you find every step we use to translate incoming emails into trackable Azure DevOps work items.
Configure the trigger
We start the flow with the When a new email arrives (V3) trigger. It watches the chosen Office 365 mailbox and fires whenever a new mail shows up.

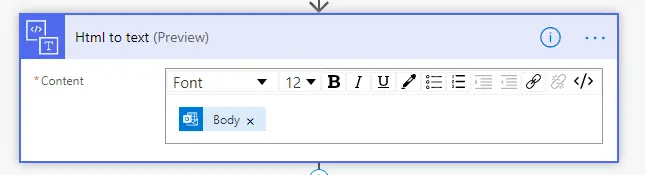
Convert the mail body
To make parsing easier we convert the HTML body to plain text with the HTML to text action.
Initialize the variables
Next we initialize all string variables required for the bug description: work item ID, title, mail link, message ID, the reply subject line, the SharePoint web URL, affected people, the topic, and – if available – the correlation ID. Adjust that list to match your own intake process.
Filter by sender (optional)
If you want to prevent spam or test data from triggering the automation, add a condition to only process mails from trusted domains or addresses.
Validate the body structure
A second condition checks whether the converted mail body contains every placeholder agreed with the customer. Only structured mails make it past this gate.
Parse the information
When all required fields are present, we extract their values and store them in our variables. One of our template snippets looks like this:
[URL]: https://my.sharepoint.com
[Topic]: Support
We apply a few string operations to grab the SharePoint URL:
1. Define the index before the URL:
   add(indexOf(body('Html_to_text'), '[URL]:'), 6)
2. Define the index before the next placeholder:
   indexOf(body('Html_to_text'), '[Topic]')
3. Extract the substring:
   trim(substring(body('Html_to_text'), outputs('Index_1'), sub(outputs('Index_2'), outputs('Index_1'))))
4. Result: https://my.sharepoint.com
Finally we validate the extracted data before moving on.
Create the Azure DevOps work item
We check whether the mail already references an existing work item by looking for an ID in the subject line formatted as [#

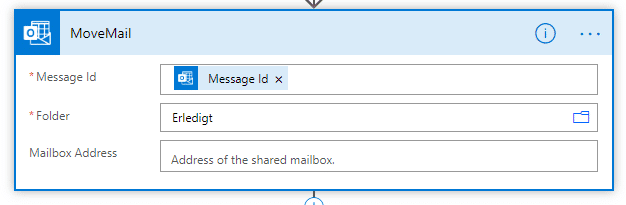
Move the mail and build a link
For better housekeeping we move the processed mail from the inbox to the folder “Completed”.
Azure DevOps cannot attach files directly via a native action, so we leverage Office 365 instead. Using the message ID we generate a link to the conversation in Outlook Web Access:
https://outlook.office.com/owa/?ItemID=<MessageID>&viewmodel=ReadMessageItem&path=&exvsurl=1Enrich the work item
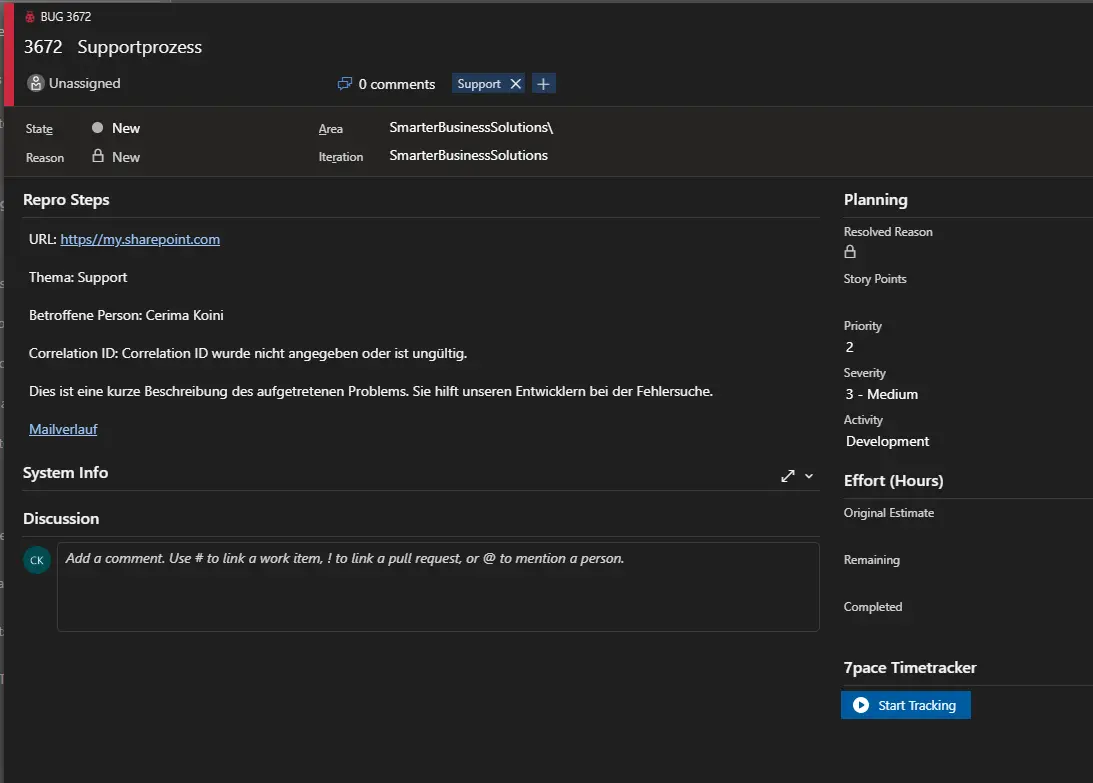
With all variables in place we update the work item and store every detail required for troubleshooting.

The flow is ready for use right away. This is what the final bug looks like in Azure DevOps:
Keep exploring automation
Want to explore more Power Automate scenarios? Discover how to start a Teams channel conversation from an Outlook upload.
Have any questions or need help implementing a similar setup? Contact us.